

Skills + Training
How to ride wet trails
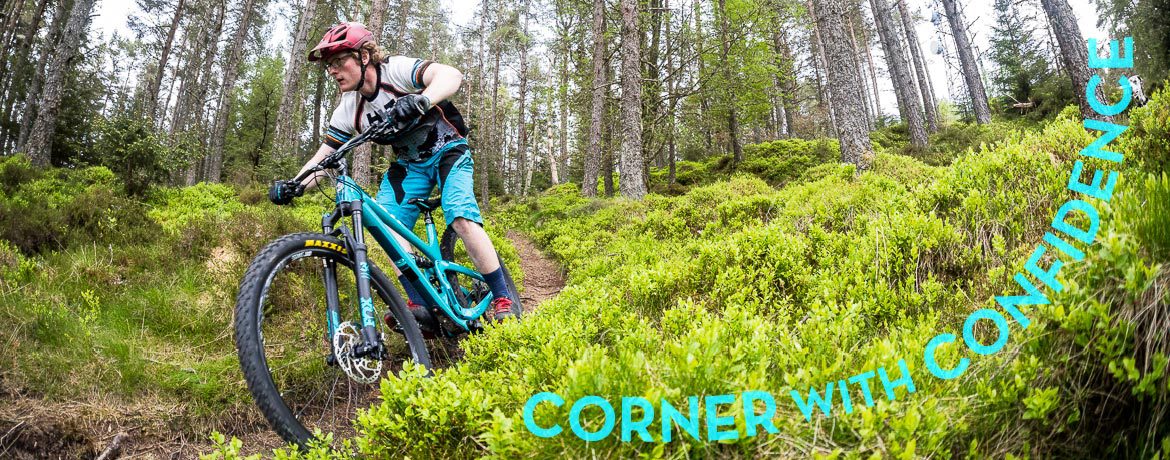
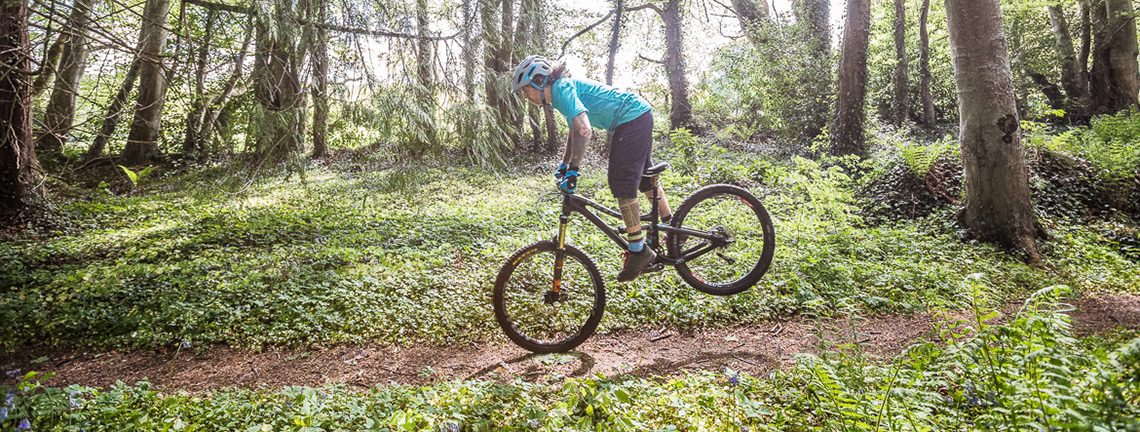
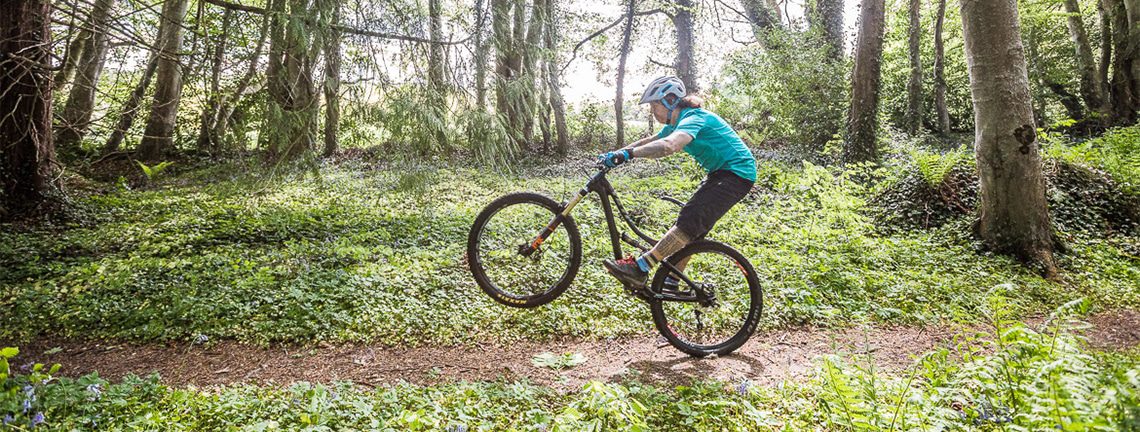
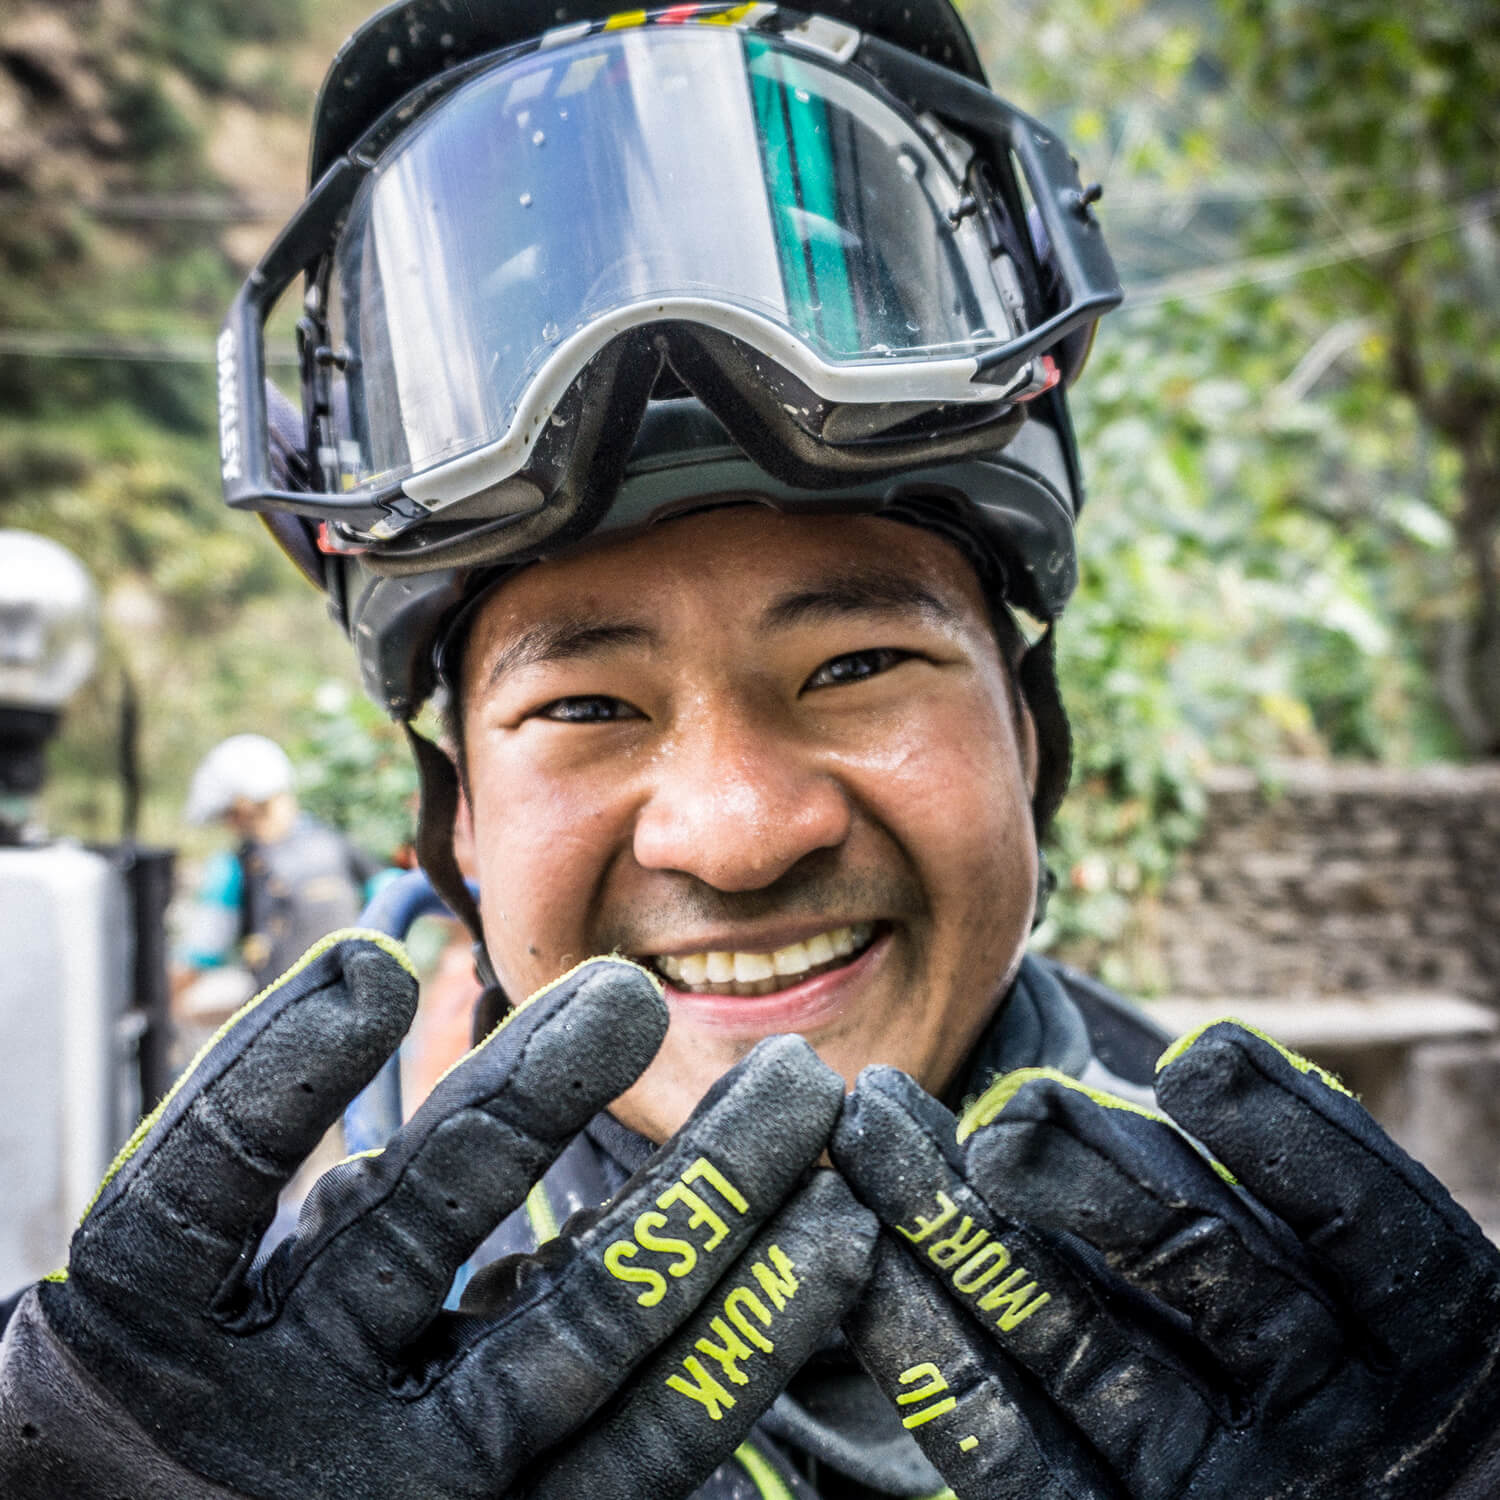
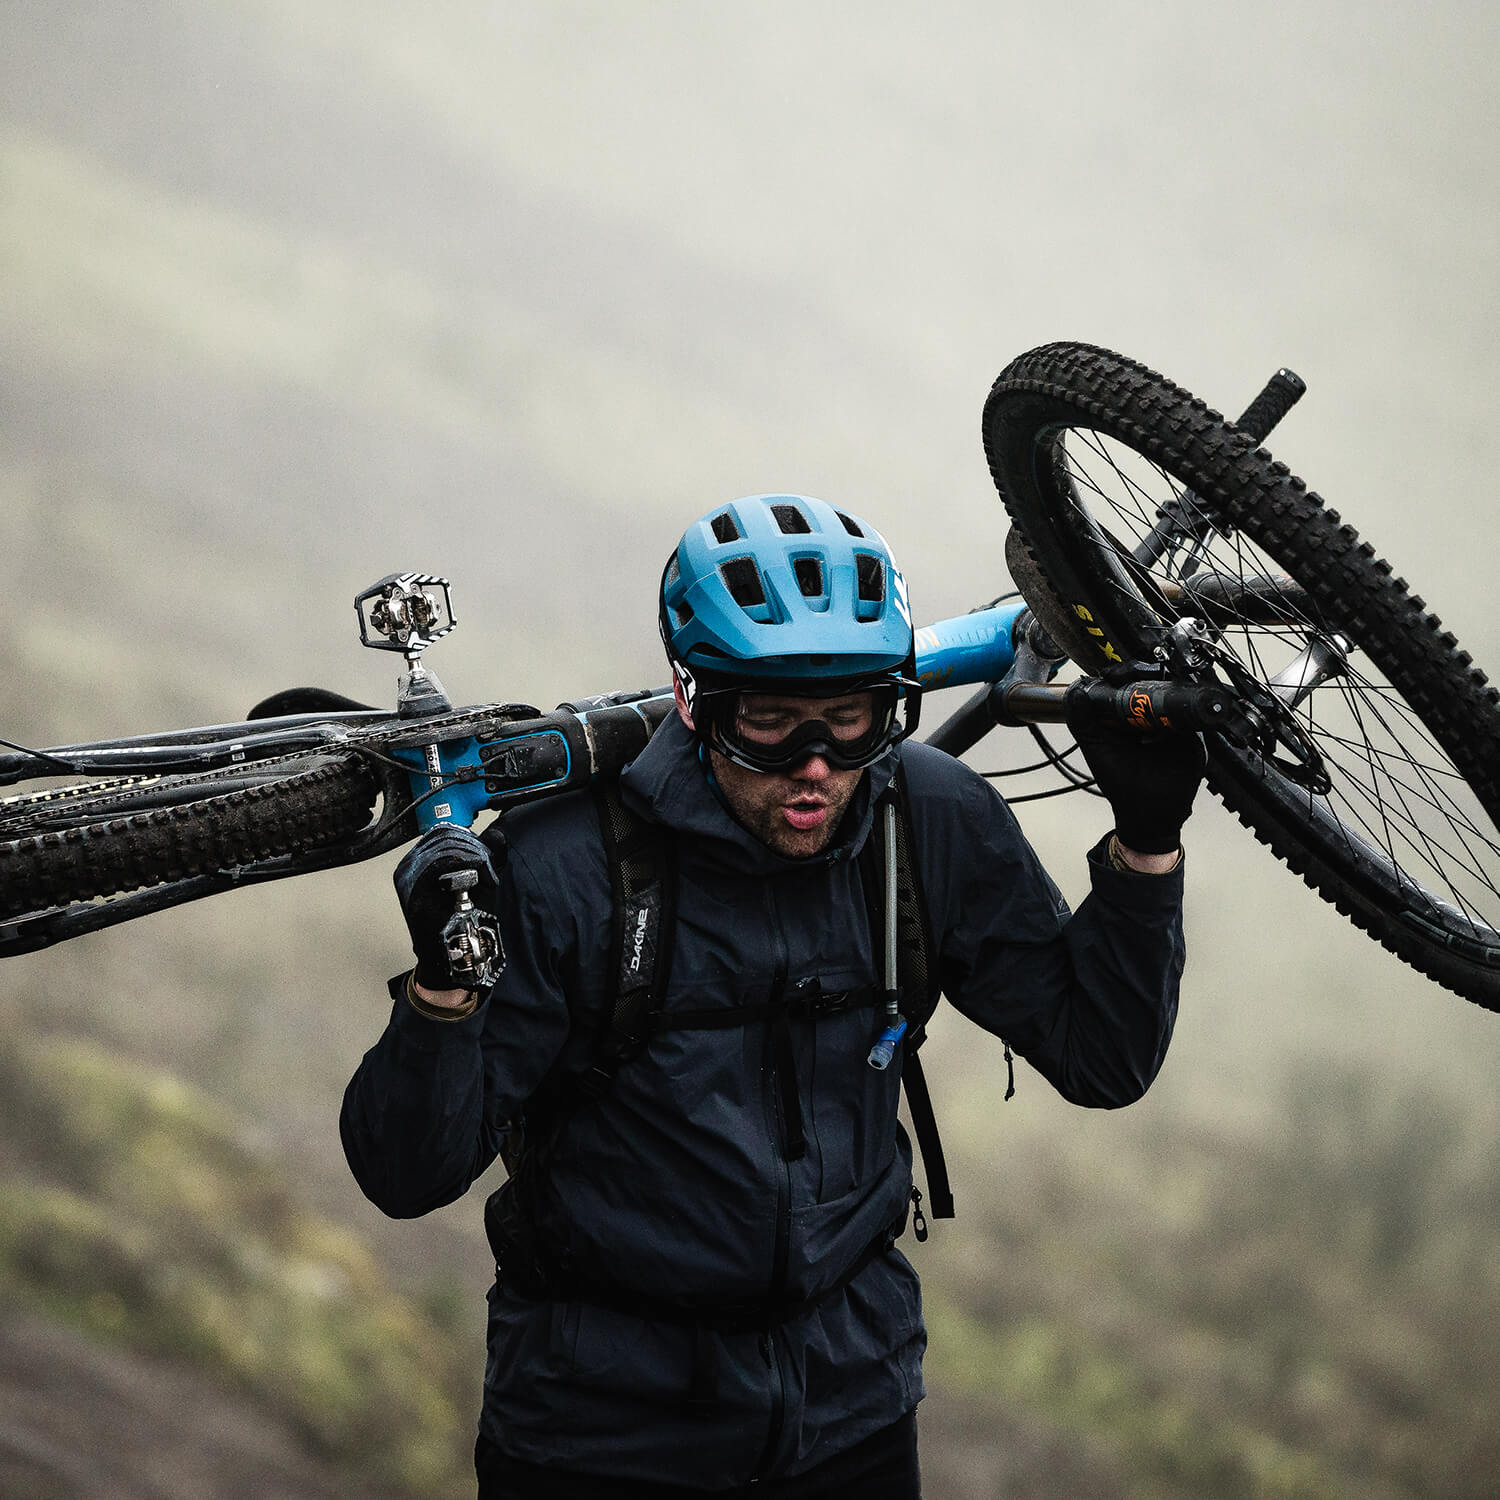
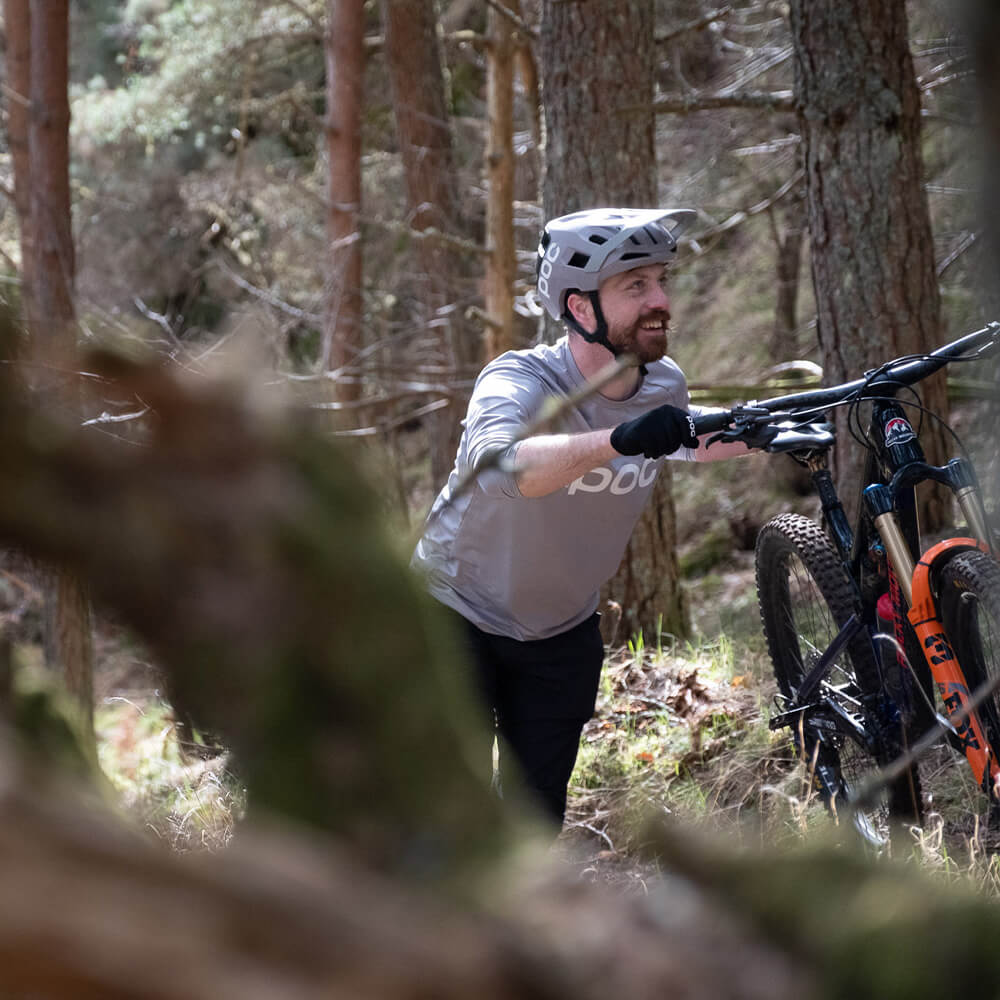
Ross shoots, and Mark rides and shares his tips on how to ride wet trails with confidence
Ross and Mark illustrate how to ride wet trails
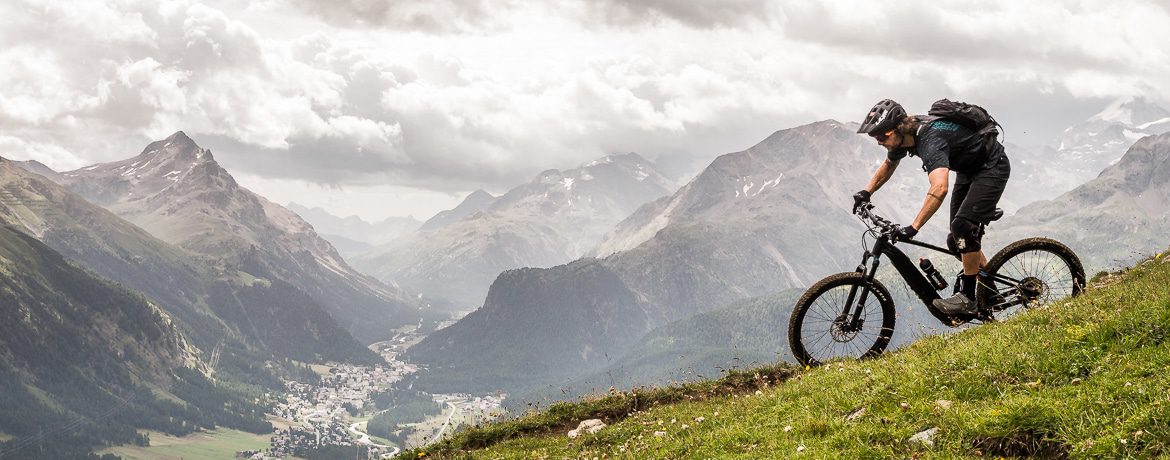
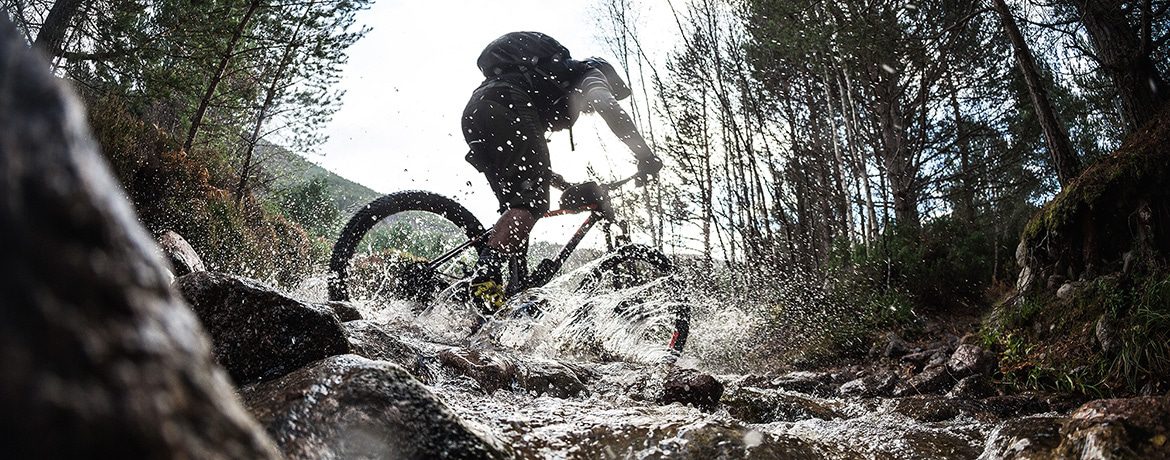
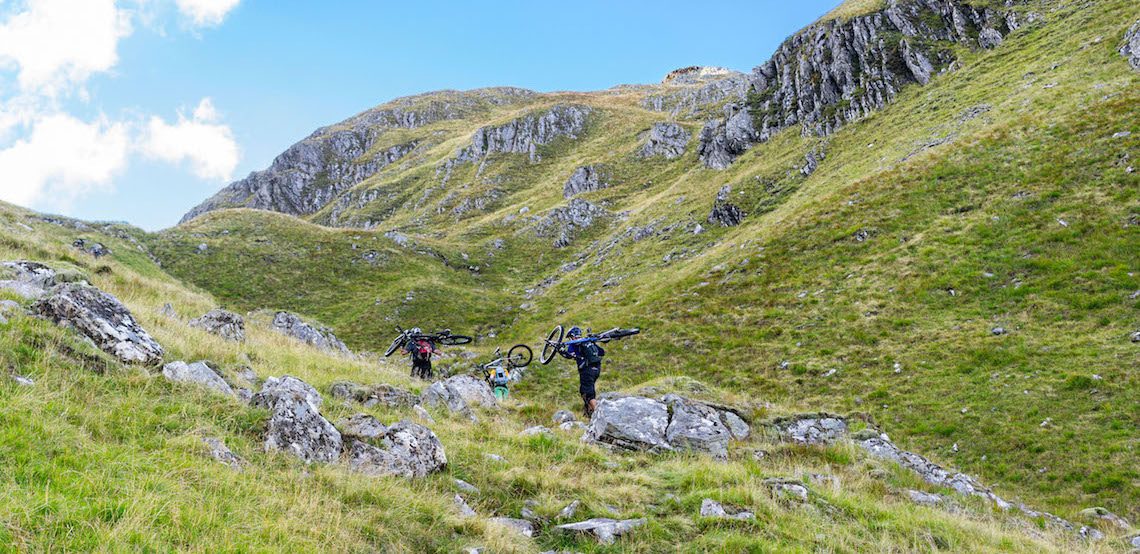
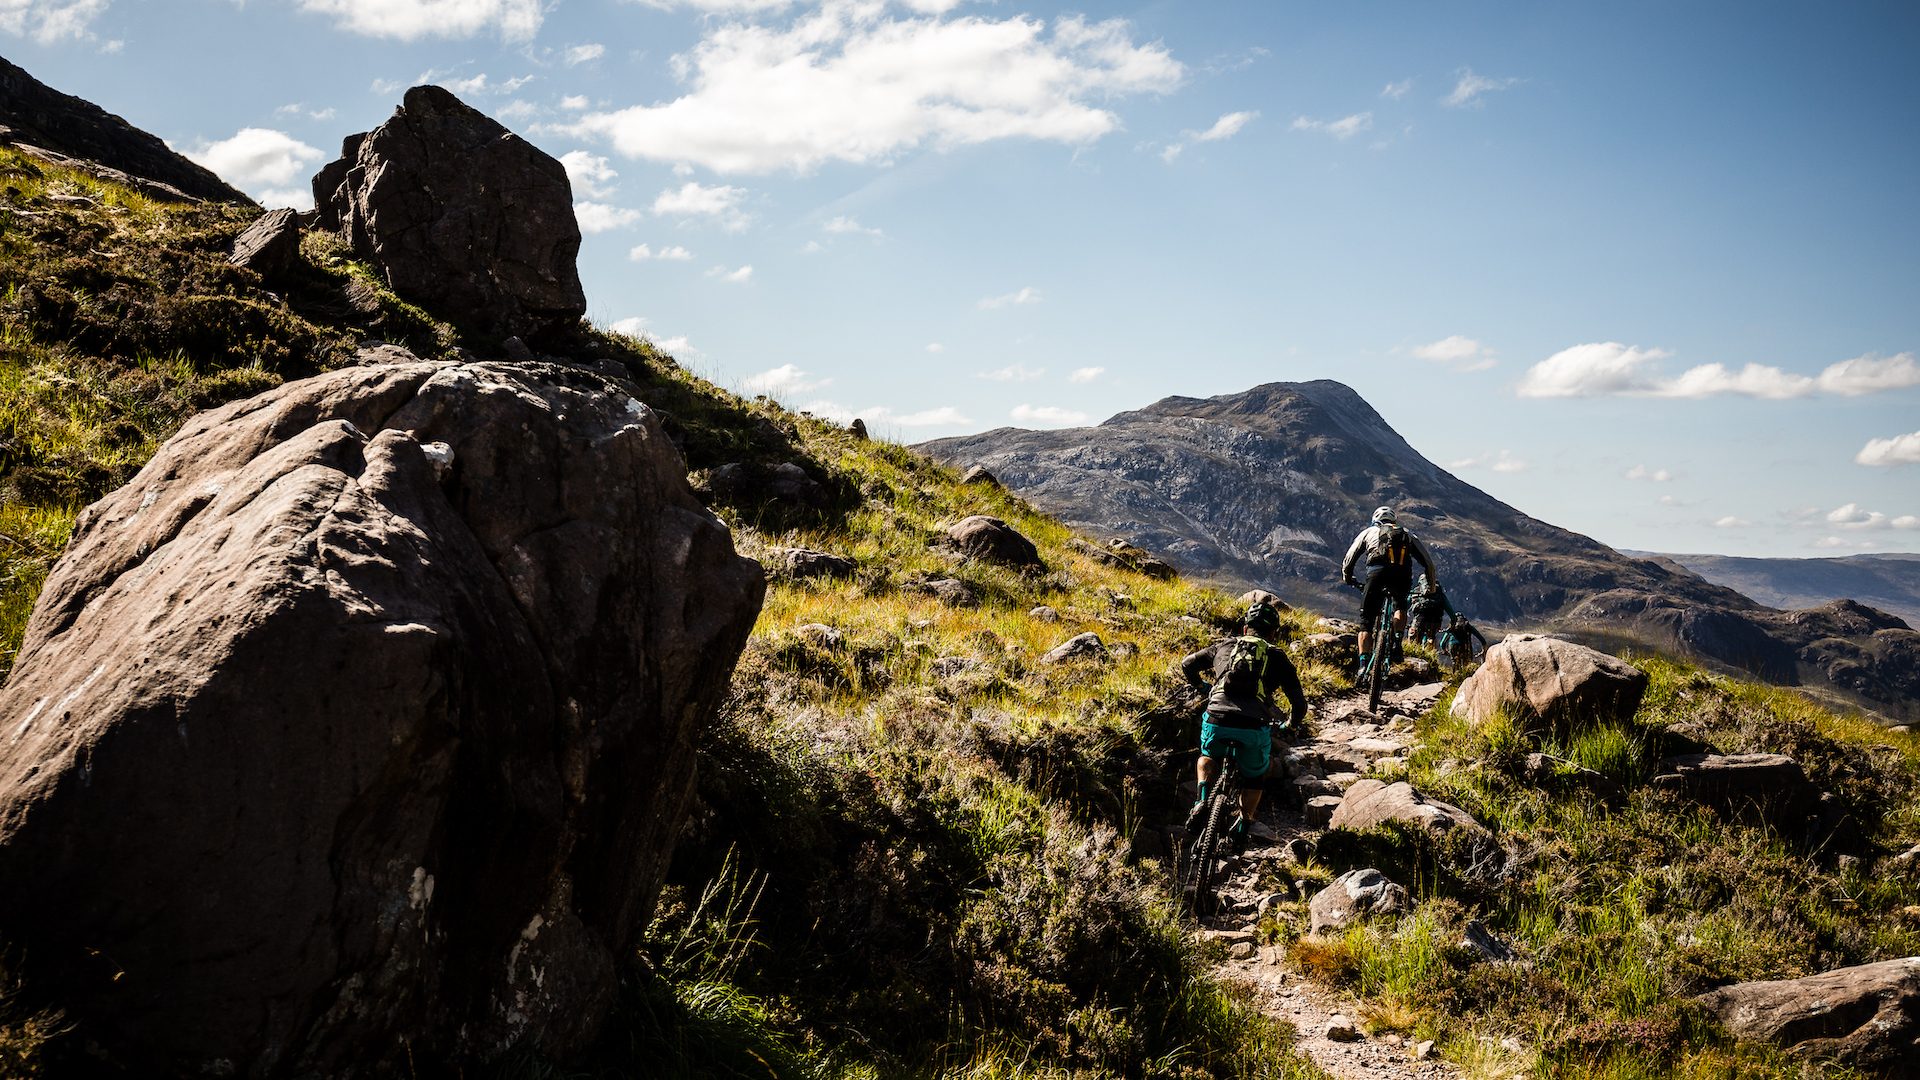
Riding in the wet is an acquired taste, but whether you like it or not, chances are you can’t avoid it forever. Here at the H+I base in the north of Scotland we are all to used to getting out in the slop, making it second nature, but riders from warmer and drier climes might find it slightly alien… Sort of like us with dust! Our tours operate in a variety of terrains and weathers meaning you shouldn’t be perplexed at the task of tackling wet trails at some point! We’ve gathered together a few tips for riding wet trails with the help of one of our Coast-to-Coast and Highland Odyssey guides Mark Clark.
First thing’s first, you’re going to have to embrace the slide and accept that your tyres and bike will be squirming below you at times. Riding in the wet is a battle for traction and whilst there is no magic formula for unlocking Velcro-like grip, there are a few things you can do to take your wet weather riding from ‘wet wobbler’ to ‘slippery slayer’.
“…you’re going to have to embrace the slide and accept that your tyres and bike will be squirming below you at times.”

Braking and line choice
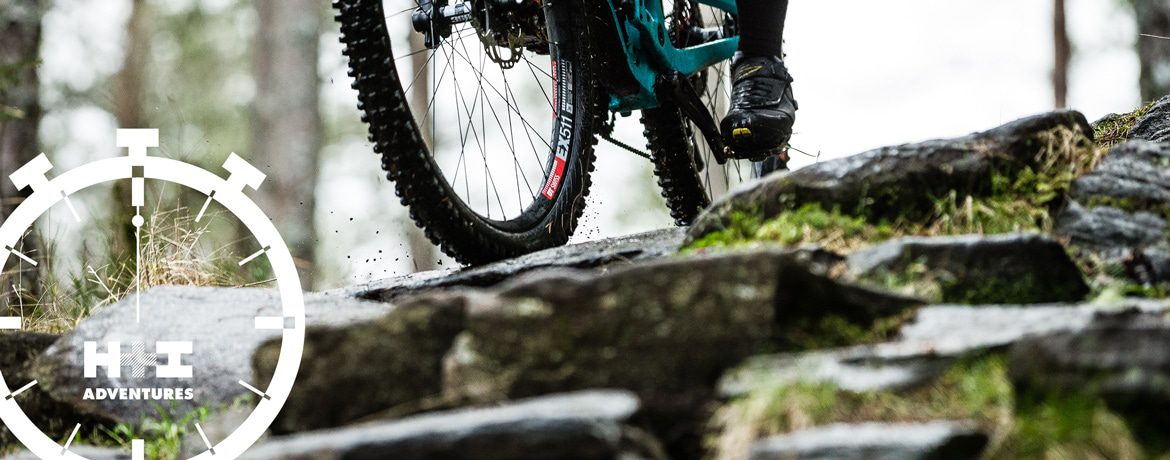
One of the most important factors when tackling wet trails is your choice of braking points. Over-braking, dragging brakes, and simply braking in the wrong place are traits all too easy to get sucked into.
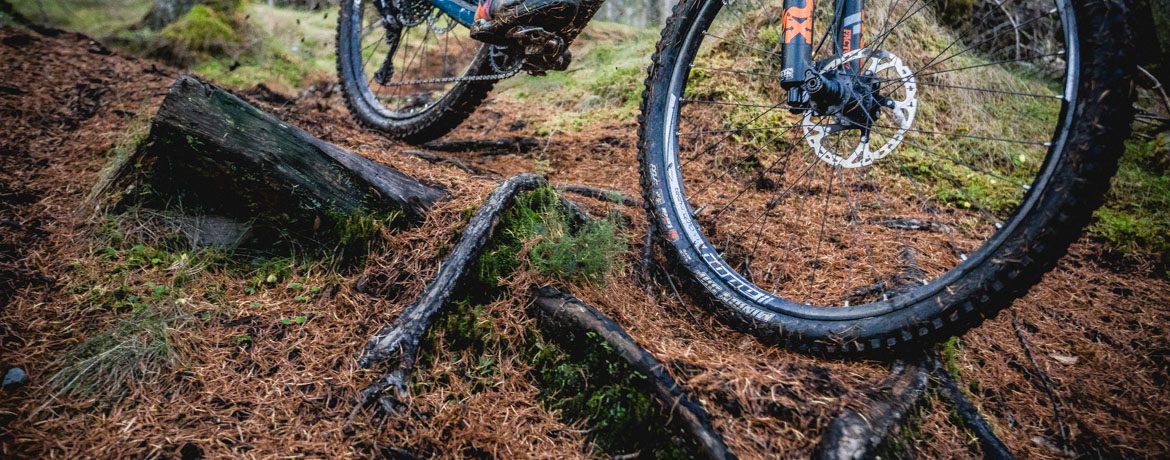
As with all your riding you should be looking well down the trail to spot features and make your line choice, not staring down on the front wheel. A common issue people have with root riding is carrying too much speed on the simple stuff before barrelling into the roots, panicking, stamping on the brakes, and jarring up both bike and body which then syphons away the remnants of any traction.
Time to take a step back to step forward. If you can (and your climate agrees!) it’s worth finding a section of slippery trail you struggle with and dissecting it. Slow down your entry to technical sections, get your braking done before and try to keep the bike ‘active’ – suspension designs have varying degrees of efficiency that are affected by brake inputs, meaning the bike can ‘jar’ up and lose grip, as well as a dragged brake giving a root an open invitation to pull your wheel from under you. Braking on top of roots is a risky game that sometimes cannot be avoided, but try to keep it to a minimum by slowing down your entry and picking your way through the rough stuff to find traction in the smooth.
There’s a lot to be said for ditching the main line and setting up high or even cutting low to avoid the worst of the holes and roots. This in itself is a skill that can’t be learnt overnight and comes through experience, but by stopping and dissecting sections, trying a few different lines you’ll be able to start understanding the benefits of getting off that motorway mainline and mastering how to ride wet trails.
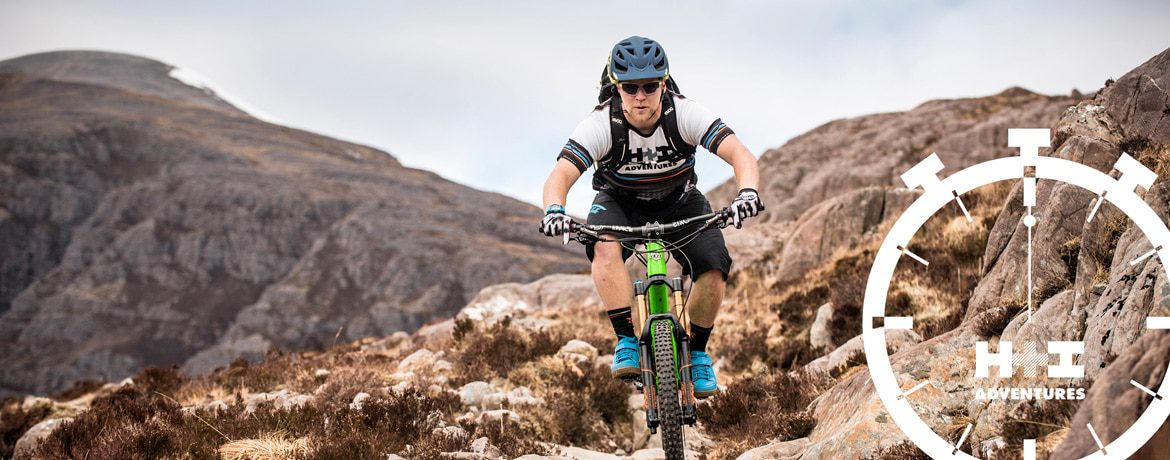
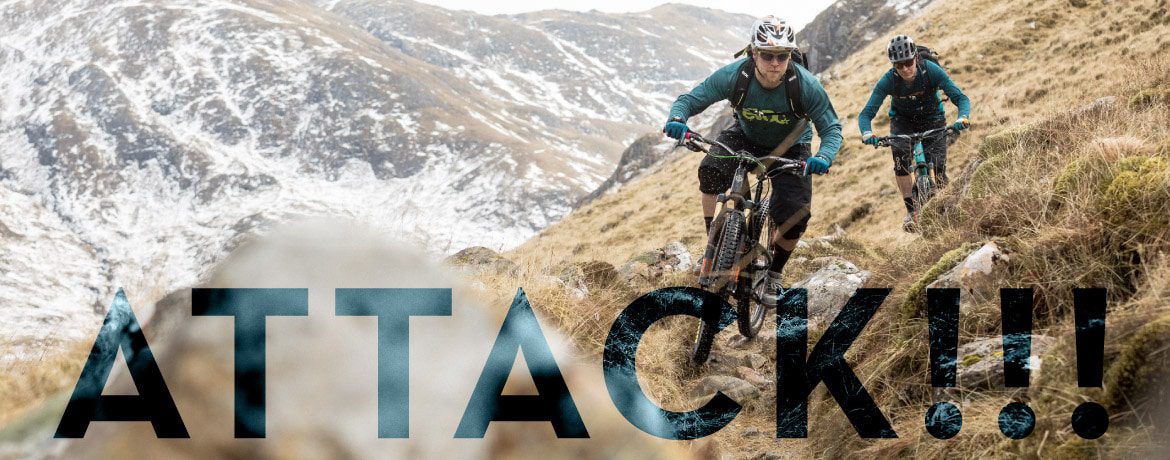
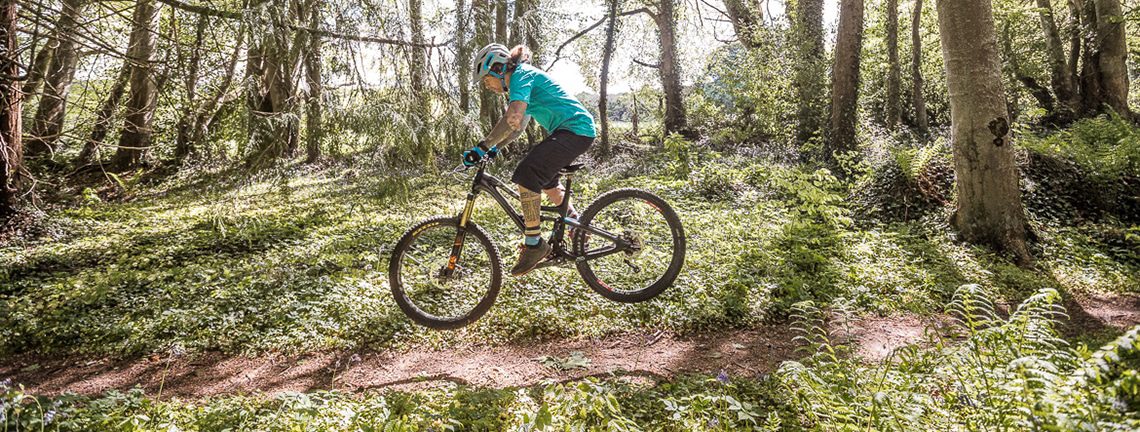
Body position and weight distribution
Adopting the ‘attack position’ will give you a lot of flexibility, room to move, and react to the trail approaching you, as the bikes passes over obstacles. If you are unsure on what we are talking about then it might be worth checking out our ‘How to master the attack position‘ blog.
You should be low to the bars, with knees bent slightly, and unlocked elbows, allowing them to move back and forth as they soak up the hits on the trail. Keep in a central riding position and avoid hanging out the back door or standing straight and rigid as this will prevent you effectively reacting to the bike sliding below you. Learning to let the bike move underneath you is a good thing, with your reactive motions coming from your hips and legs whilst your upper body stays largely stationary.
Another way of unlocking grip or avoiding a slide out is learning where and when to weight the bike into the ground by pushing through the contact points and dipping your heals slightly. As a general rule of thumb you should be weighting on the grippy stuff before going light over the slippy stuff, helping you float over the surface.
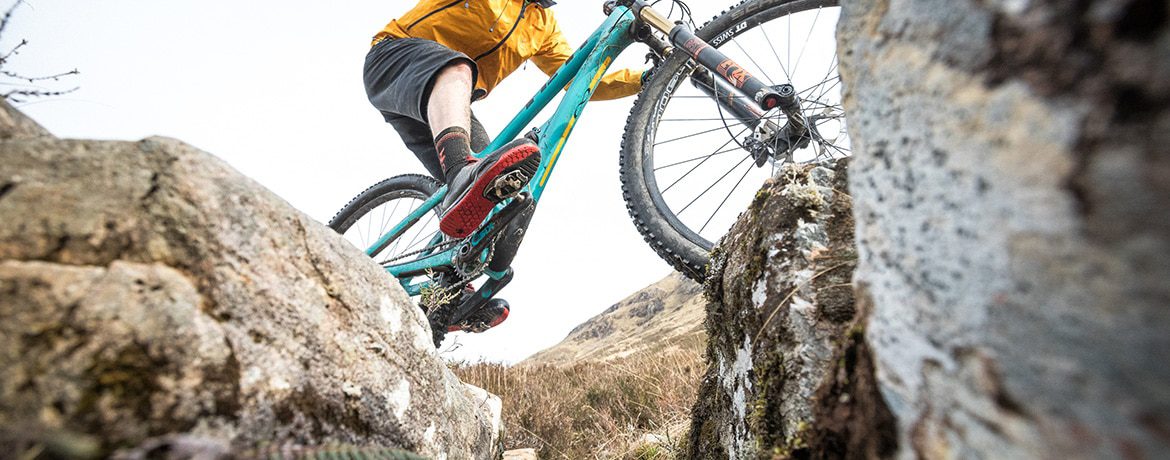
Tyre choice
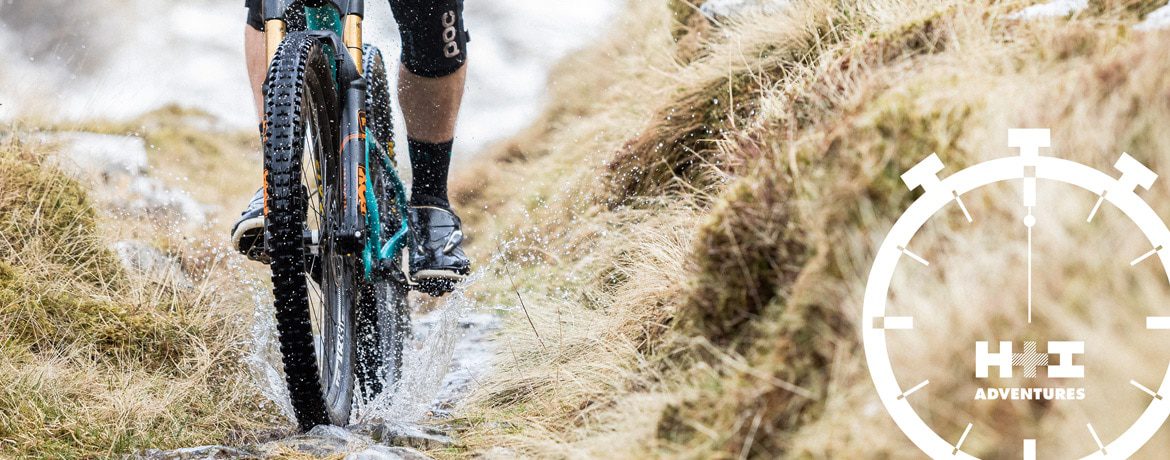
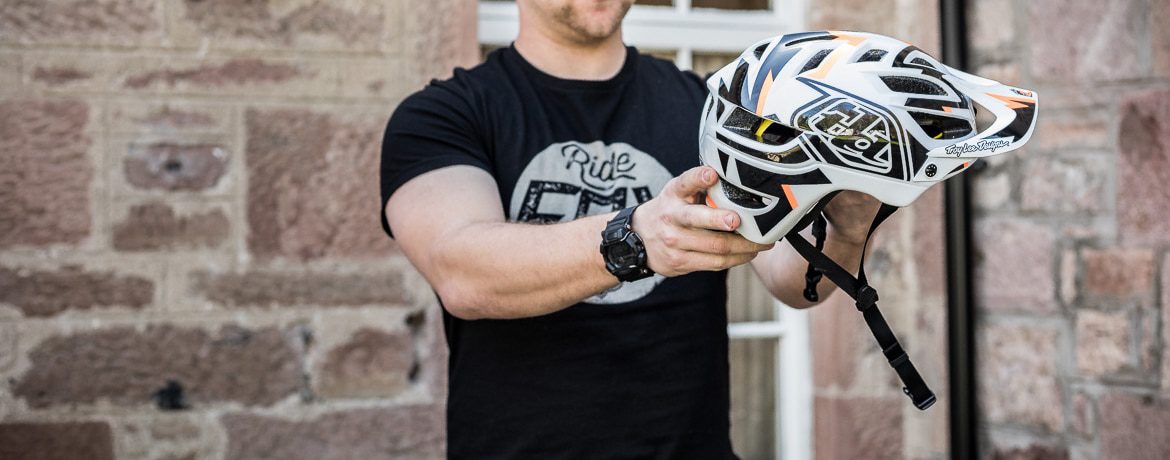
There is a bewildering choice of tyres on the market, various treads, sidewall casings, compounds, and widths. Whilst tread pattern can be a personal taste depending on your riding style and terrain, you can still gain grip at the expense of rolling speed by dropping a few PSI’s in your rubber. A more dh-style tyre casing will allow you to drop your pressures whilst still retaining good puncture resistance.
Brands also offer most tyres in a variety of compounds; softer tyres offer more grip, but wear faster and roll slower, whereas hard compounds roll faster and last longer, but lose out in grip. Both are compromises but a softer tyre compound could be a worthy investment if you are lacking confidence.
Confidence is key and confidence can only be found through practice and experience so next time you’re wincing and holding on through a section of roots or sludge it could be worth stopping and getting to grips with those sections that leave you and the bike squirming.
These tips on how to ride wet trails should help you to prepare for our mountain bike tours in Scotland, Norway, Ecuador and Switzerland, where you’re more likely to encounter wet conditions on the trail.