How To Ride a Scottish ‘Water Bar’
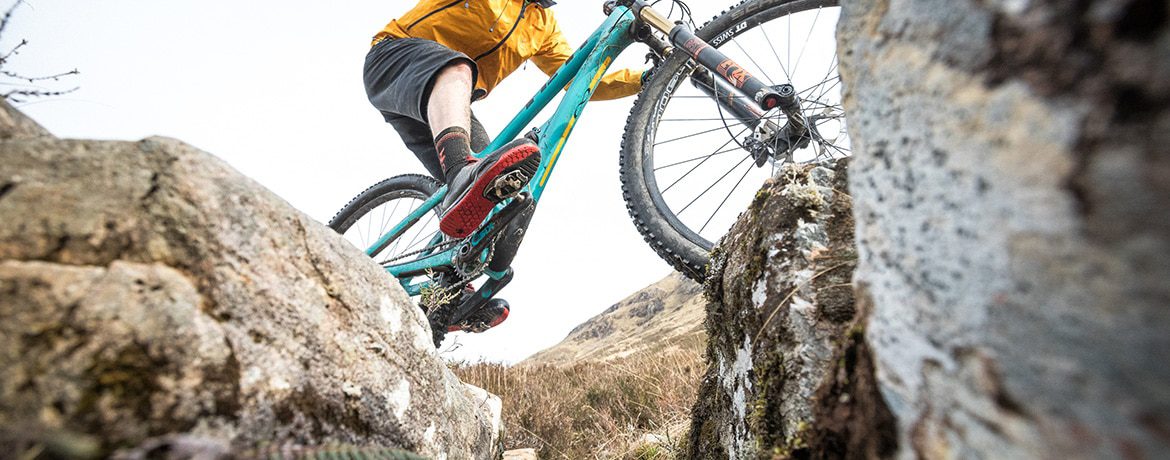
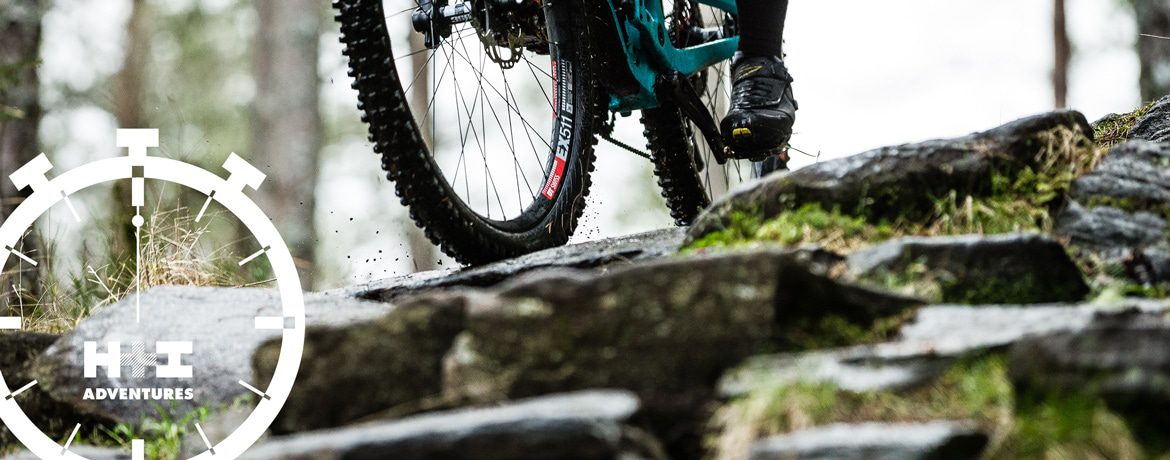
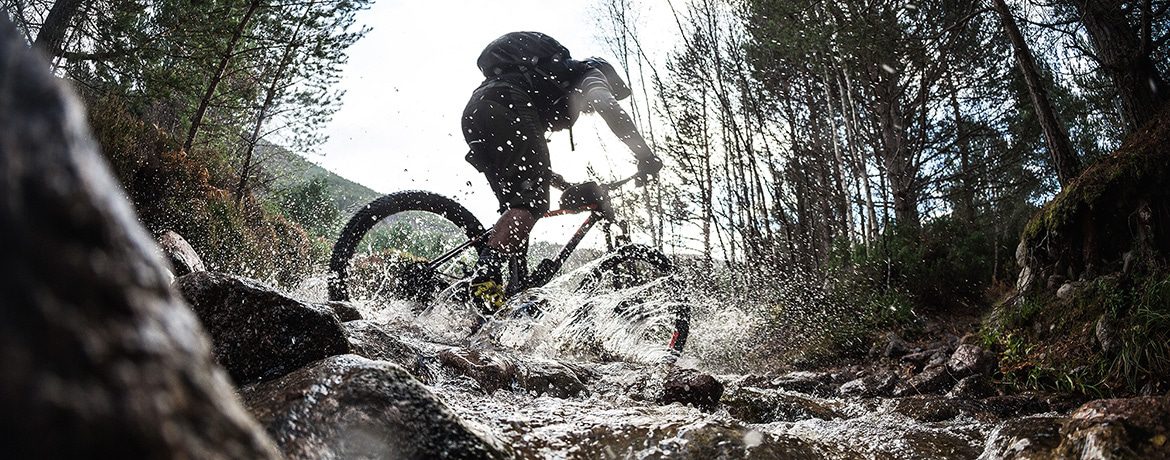
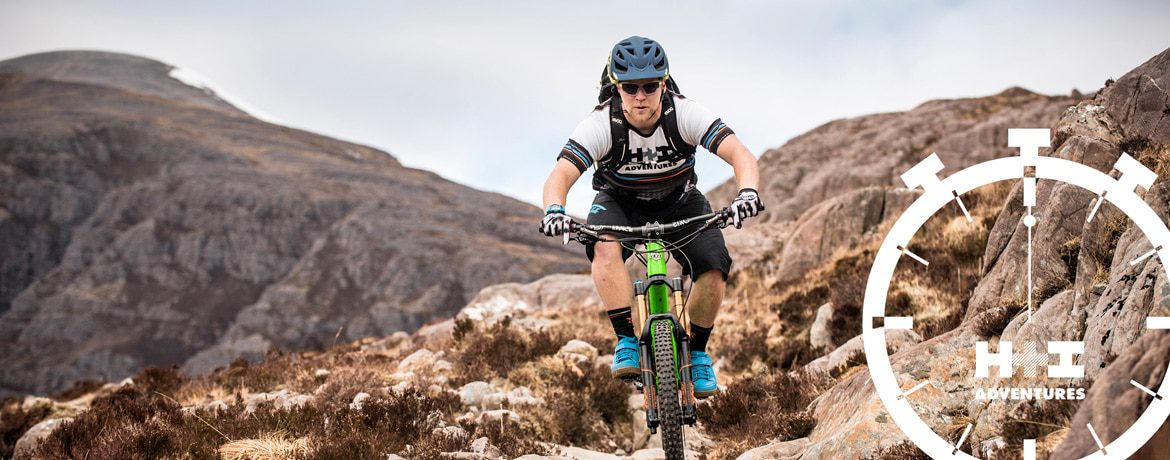
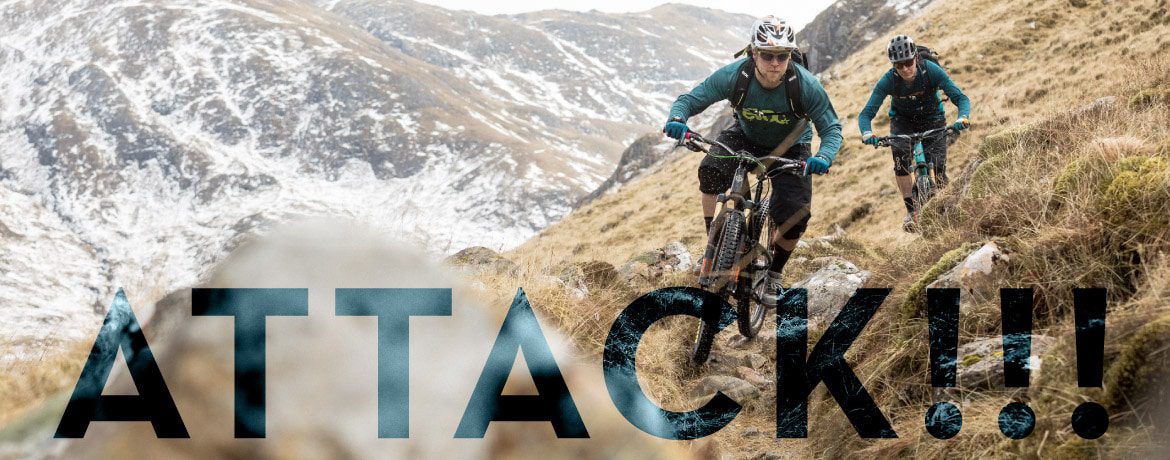
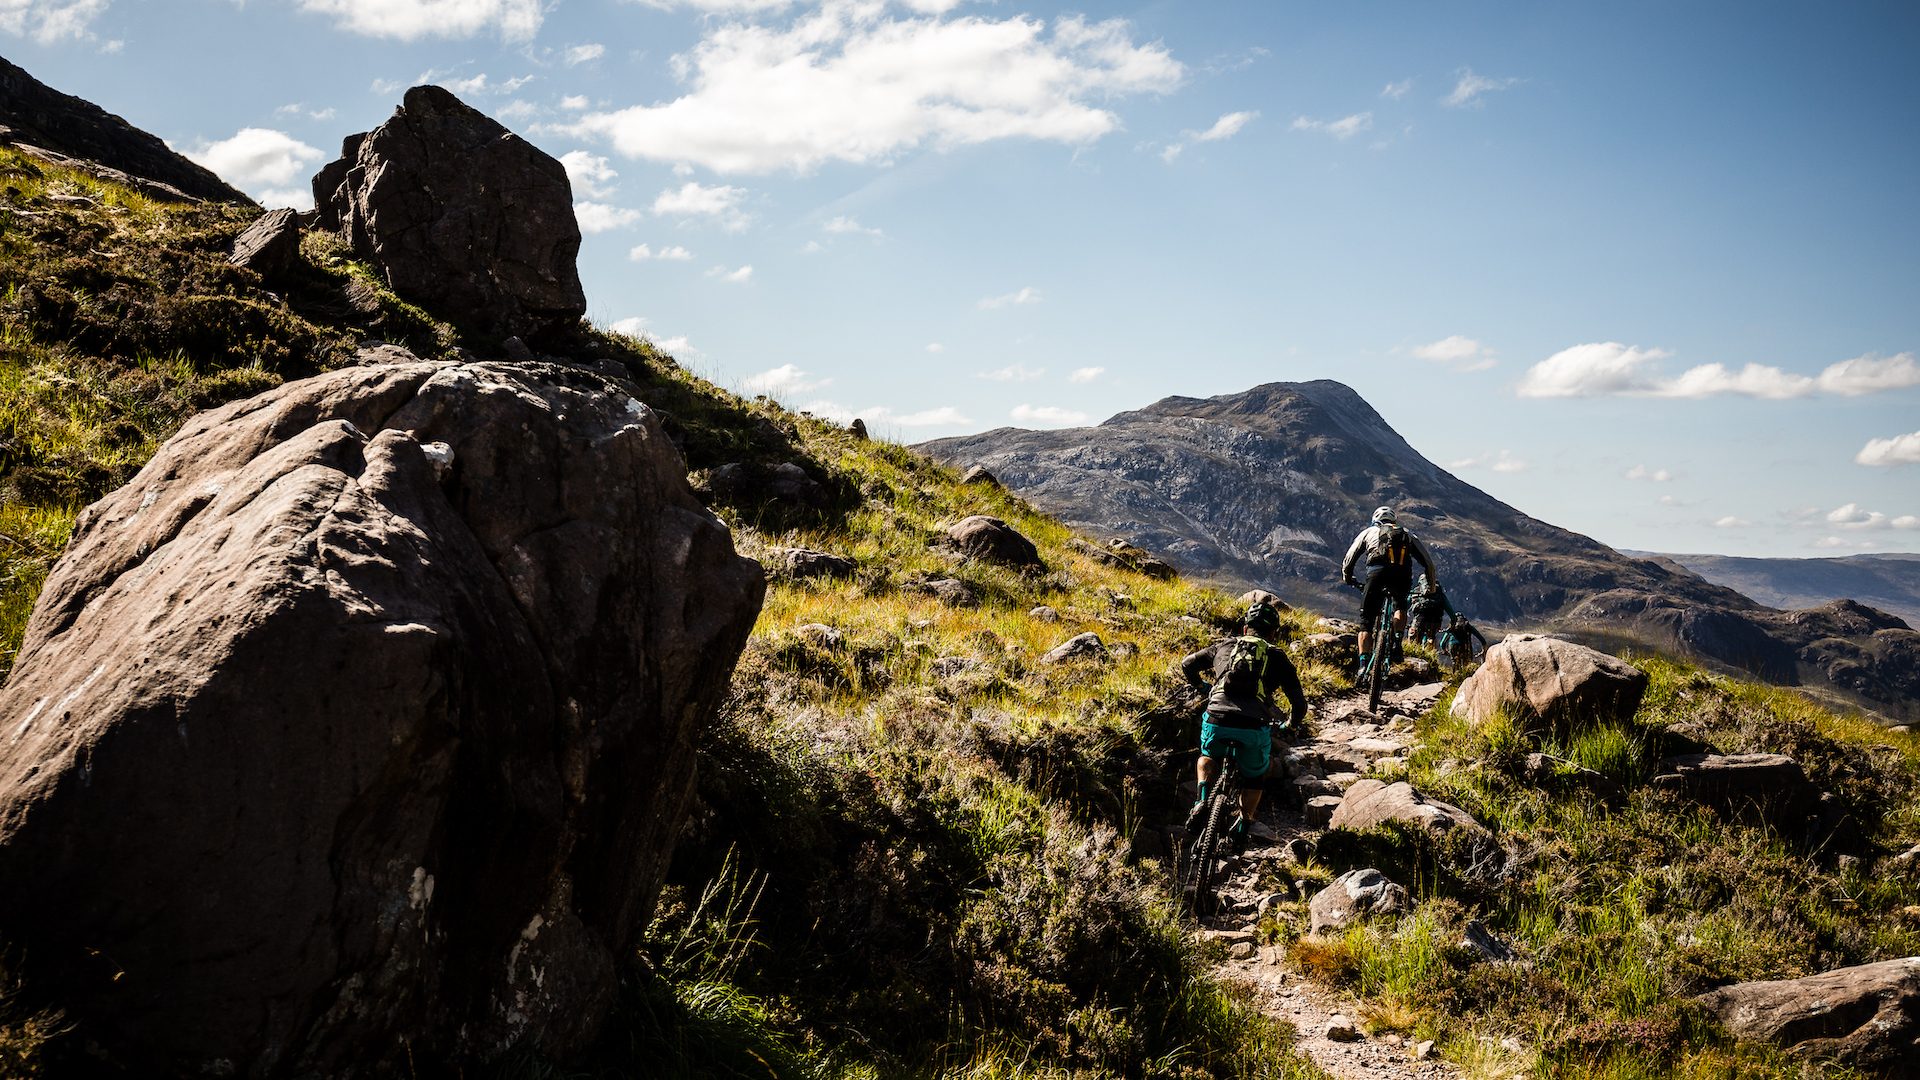
Above: Our guide Mark Clark (above) showing you how to ride a Scottish water bar in Torridon.
There’s no hiding from the fact that it rains (rather a lot) in Scotland. This means when it comes to trail and path maintenance there’s no messing about with water drainage!
So let me introduce to you the humble Scottish water bar – a hard and unforgiving square edge, made up of one, or two (sometimes more!) chunky rocks, ready and lurking to make a meal of your tyre and wheel. They come in all shapes and sizes but rest assured if you’re booked onto the coast-to-coast or Highland Odyssey trips you’ll need to get very familiar with, and perhaps fond of, these Scottish trail features as you’ll be seeing a lot of them! Otherwise you’ll find your week very stop /start as you clamber on and off your bike.
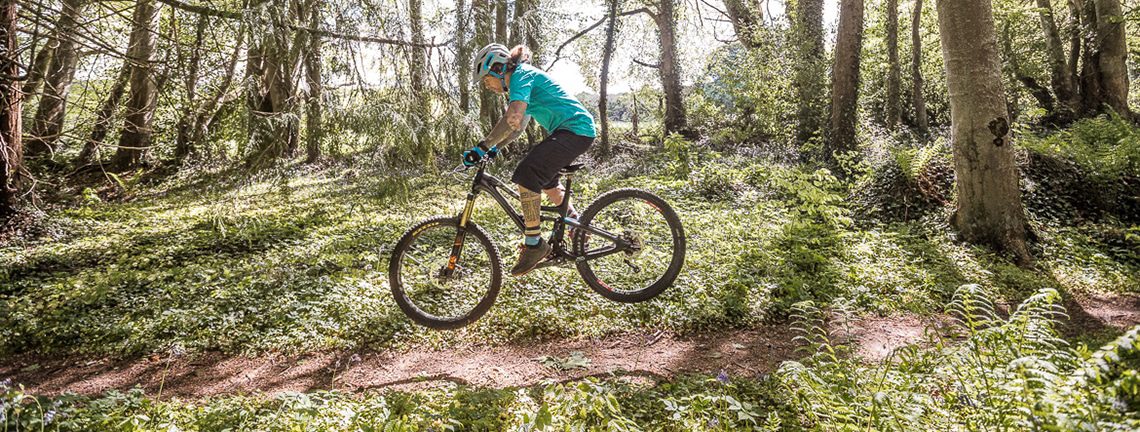
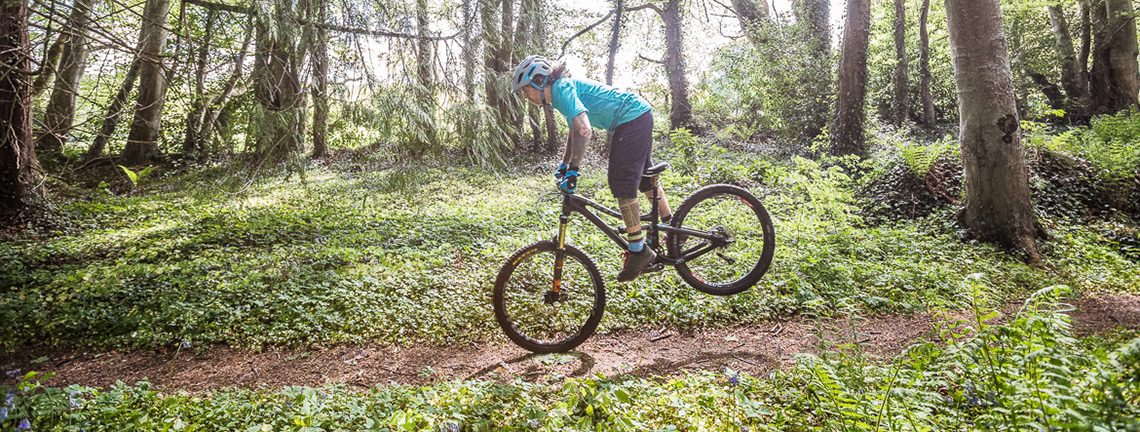
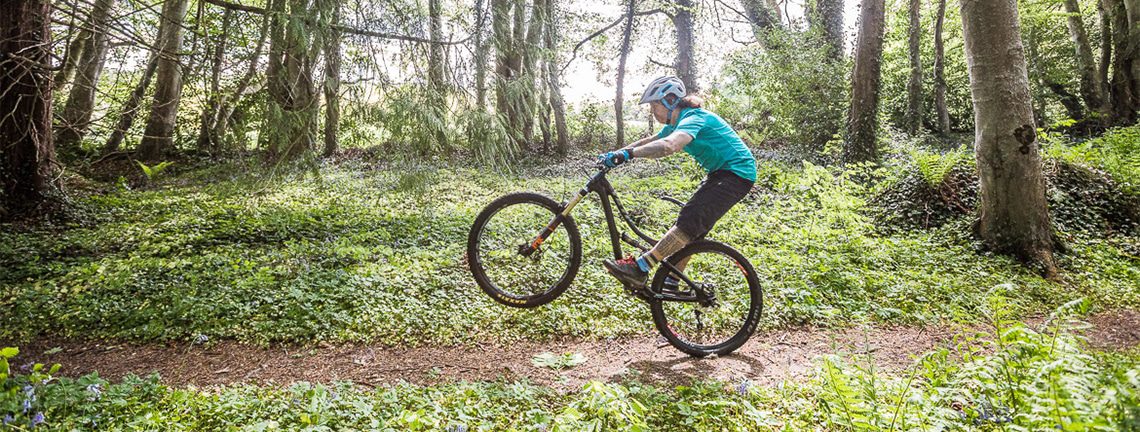
The technique can be broken down into two basic movements; the front wheel lift over the first edge or gap – which makes up the majority of the water bars – and onto the other side; then followed by the crucial rear wheel lift that will keep your wheel out of danger and keep the flow of the trail oozing! Often the water bars can be cleared by riders with a confident bunnyhop and we have covered all three of the techniques in our blogs; How to Lift Your Front Wheel; How to Lift Your Rear Wheel; How to Bunny Hop. It’s key to master these, or at the very least the front and rear wheel lifts, before tackling your Scottish mountain bike adventure.
Confident in the wheel lifts, but perhaps not in bunnyhopping? Well, here’s how to conquer the water bar:
How To Ride a Scottish Water Bar Step 1)
As with any trail riding, staying focused with your head up and eyes way out front, scanning the terrain for obstacles is important. Once you’ve spotted the water bar it’s time to initiate the front wheel lift process. With the obstacle approaching, go through the stages of compressing the suspension, placing your weight over the rear with straight arms, forcing down on the pedals and bringing the first half of the bike over the gap.
How To Ride a Scottish Water Bar Step 2)
With your front wheel safely soaring over the gap and having touched down on the other side it’s time to crank your weight over the front of the bike and repeat that same scooping motion of the cranks mentioned in the ’How to Lift Your Rear Wheel’. Once safely clear of the rock and gap it’s time for touchdown by bringing your weight and body into the neutral position. There’s no time to rest, however, as the Scottish trails demand alertness, so keep scouting the trail for that next water bar!
In the weeks running up to your Scottish trip it’s really worth polishing up on your wheel lifts as it’s a technique that will be vital, not only to your riding efficiency, but also to your overall enjoyment, keeping you moving and on the bike as much as possible.

