How to check your mountain bike helmet
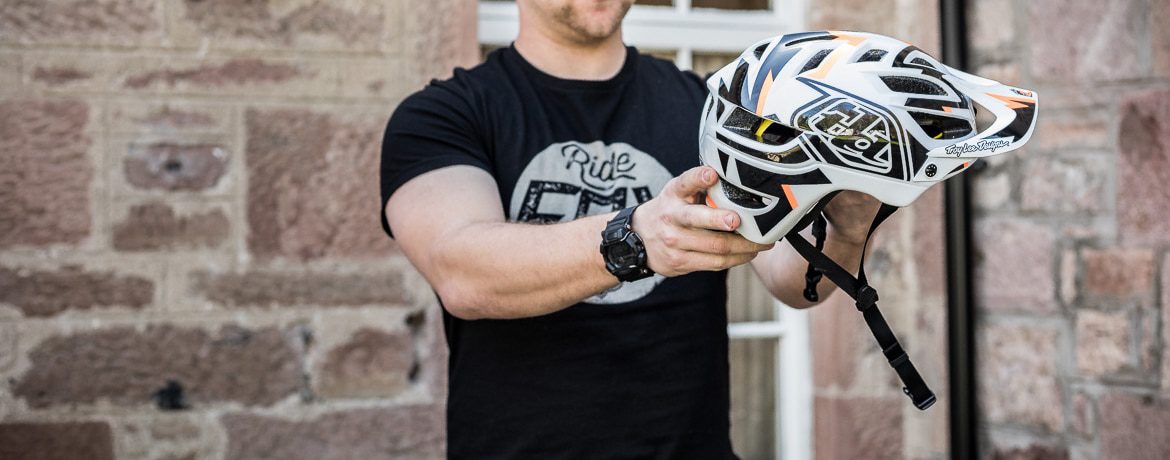
Chris explains how to check your mountain bike helmet
How to check your mountain bike helmet is fit for purpose, by Chris Gibbs
Nobody likes crashing but, inevitably, at some point, it’s going to happen.
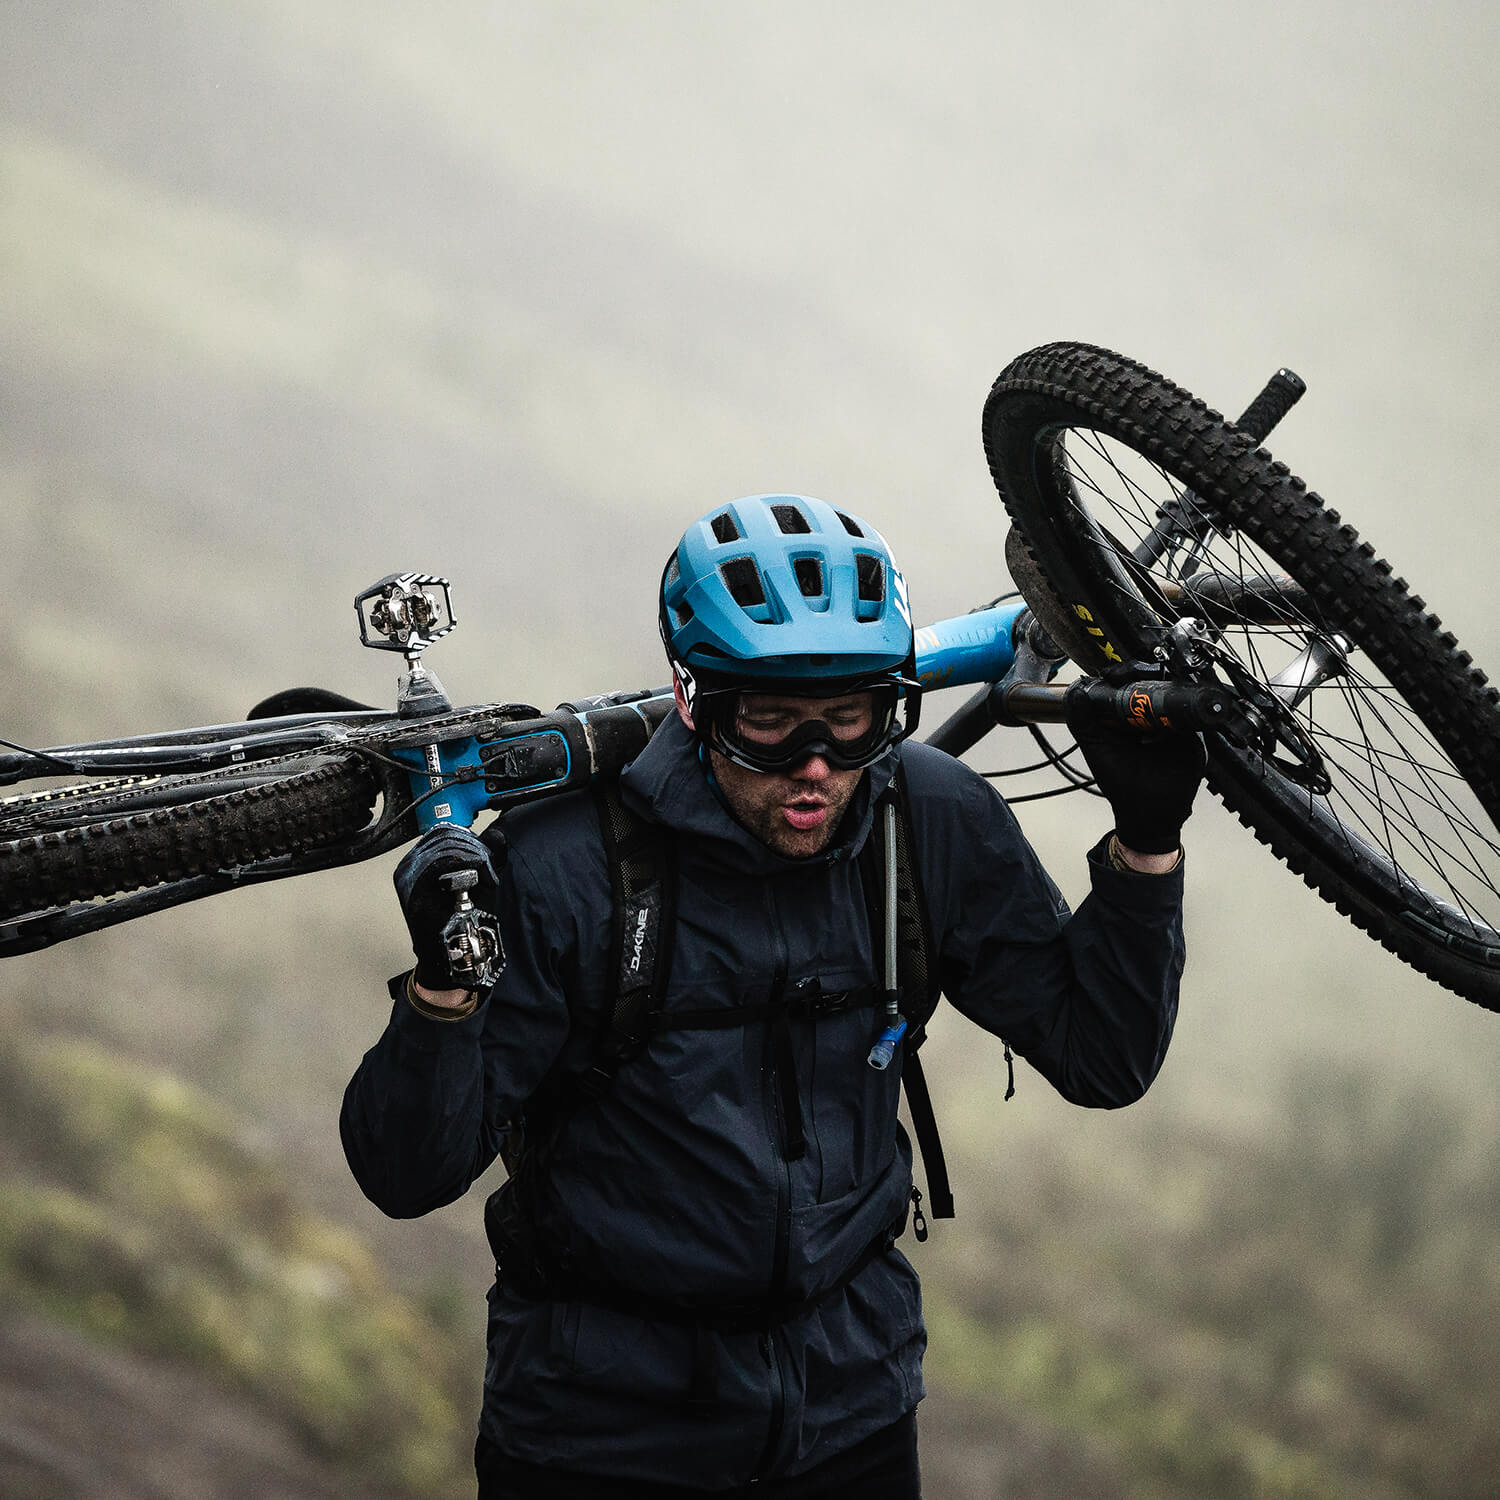
In those moments when I suddenly and unwittingly become separated from my bike I like knowing that my head is protected. Maybe I’m getting older and wiser, but keeping the brain cells I have left intact is top of my priority list. Knowing that my helmet is going to do its job helps me ride with confidence and get even more enjoyment from the trails.
Whilst many of us will spend hours tinkering with our bikes striving for some kind of mechanical perfection, when was the last time you checked over your helmet?
Here’s a few things to look out for when considering a new helmet or checking you existing brain bucket!
“when was the last time you checked over your bike helmet?”
When should you replace your helmet?
Firstly, not many people realise that you should replace your helmet at least every three years. As soon as it’s manufactured a helmet starts to degrade. This can be from UV damage, all the little scrapes from throwing it in and out of kit bags, as well bigger knocks and even from your sweat. Have a look at the manufacturing label inside and if it’s more that three years old you have the perfect excuse to treat yourself to a new lid!
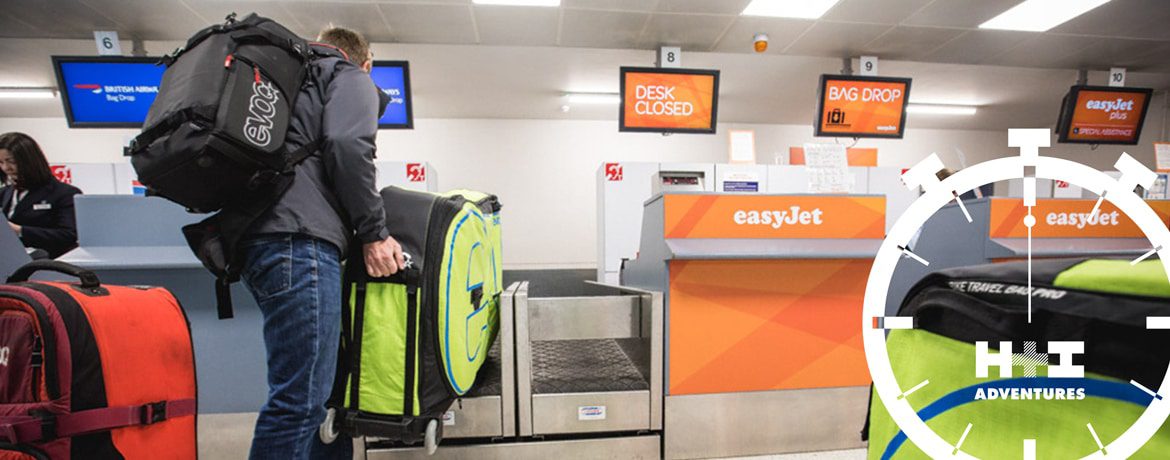
After any significant crash in which your helmet has taken a big impact, it should be replaced. It’s also really worth checking your helmet after travelling as it could have been damaged during transit.
Most helmets are made of EPS foam, which is easily moulded and designed to distribute the force of an impact. When EPS receives an impact it will crush and change shape in the process, this can result in areas of the helmet becoming thinner and significantly weaker to another impact in the same place.
Fit and function are the main considerations, as well as protection they are top of my list when choosing a new lid. For fit I need to know if it feels good and secure on my head without wobbling around. For protection I look for how far it comes down the back and sides of my head.
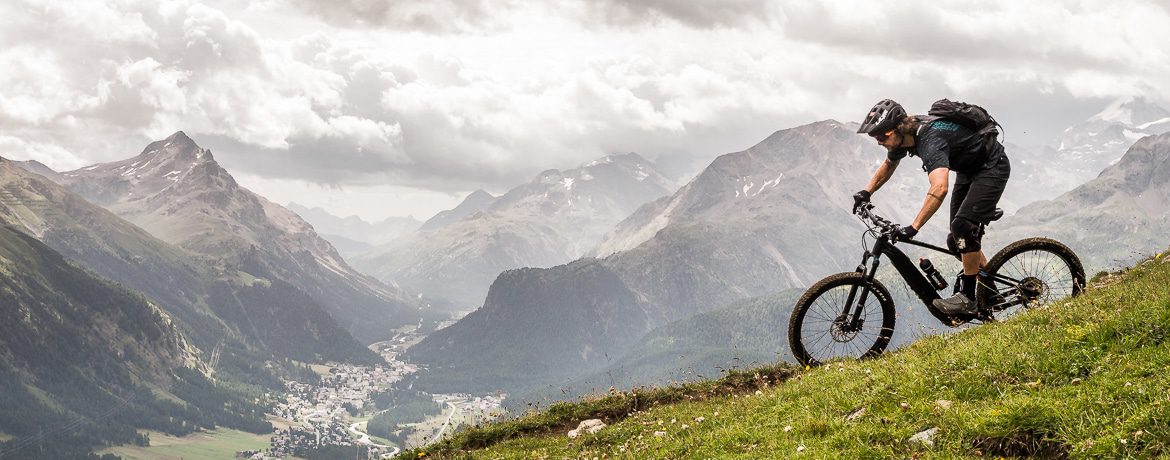
More often than not I’m riding rocky trail in the mountains and that bit of extra coverage can make all the difference between walking away with just a dent in my pride and not in my head!
Above: How to check that your helmet is still protecting your head
What to look out for
Here’s what to look for when checking if your mountain bike helmet is up to scratch…
1. Give it a once over, are there any dents or scuffs on the outer shell?
2. Looking at the inside of the helmet, flex it out and compress it inwards, check to see if any cracks appear under stress. Just the other week I saw someone do this and a huge crack opened on the inside of the helmet which wasn’t visible otherwise.
3. Check the straps and clasp, does it tighten properly and are the straps damaged?
4. Buckle, check that there are no cracks in the buckle itself and that once done up it can’t just be pulled apart.
5. Visor, this is a new one I’m adding after seeing someone’s peak work itself loose and flop forwards rendering them blind whilst descending technical trail. Not ideal unless you can ride by sense of smell! Check those little screws are done up and holding your peak nice and tightly.
“after any significant crash… your helmet should be replaced”
Don’t forget your most important asset!
Whilst there’s always a new shiny component that promises to improve your riding and win you the next EWS, maybe consider if the humble helmet is your next best purchase and give it some attention after riding and travelling.
Whilst the old saying goes, “Ride fast, Take chances, Pain fades and glory lasts forever” maybe, just maybe, it’s better to be sure and have fun knowing your brain is protected and be sure you know How to check your mountain bike helmet is fit for purpose.


