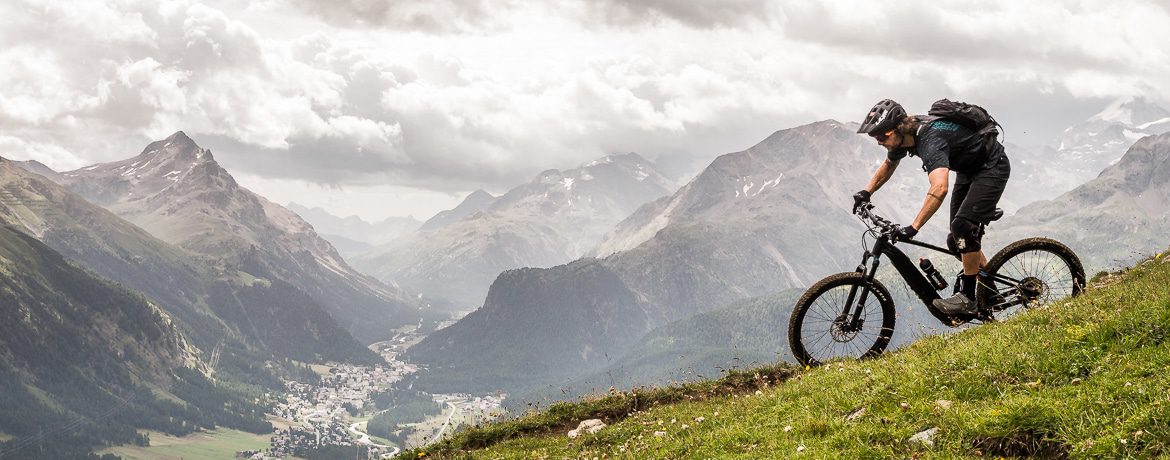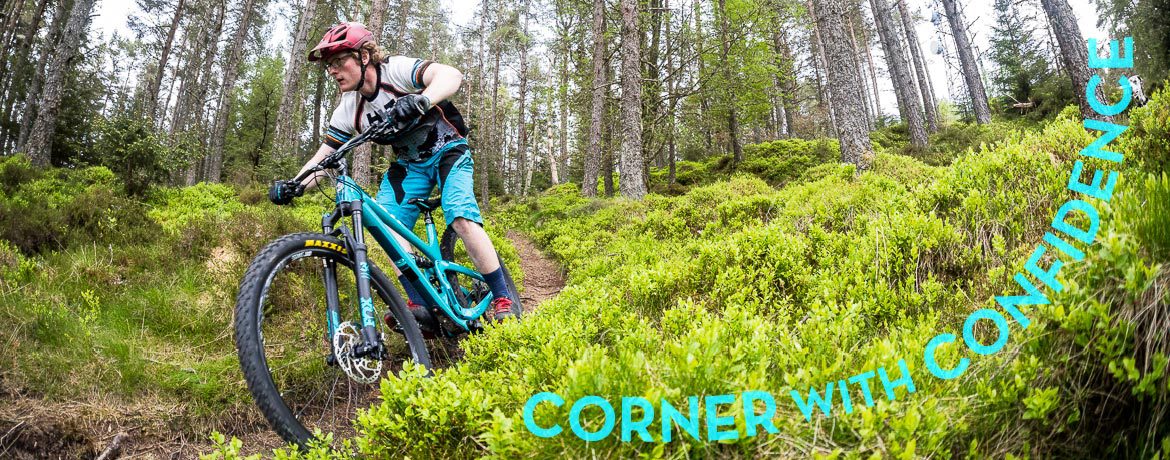


Skills + Training
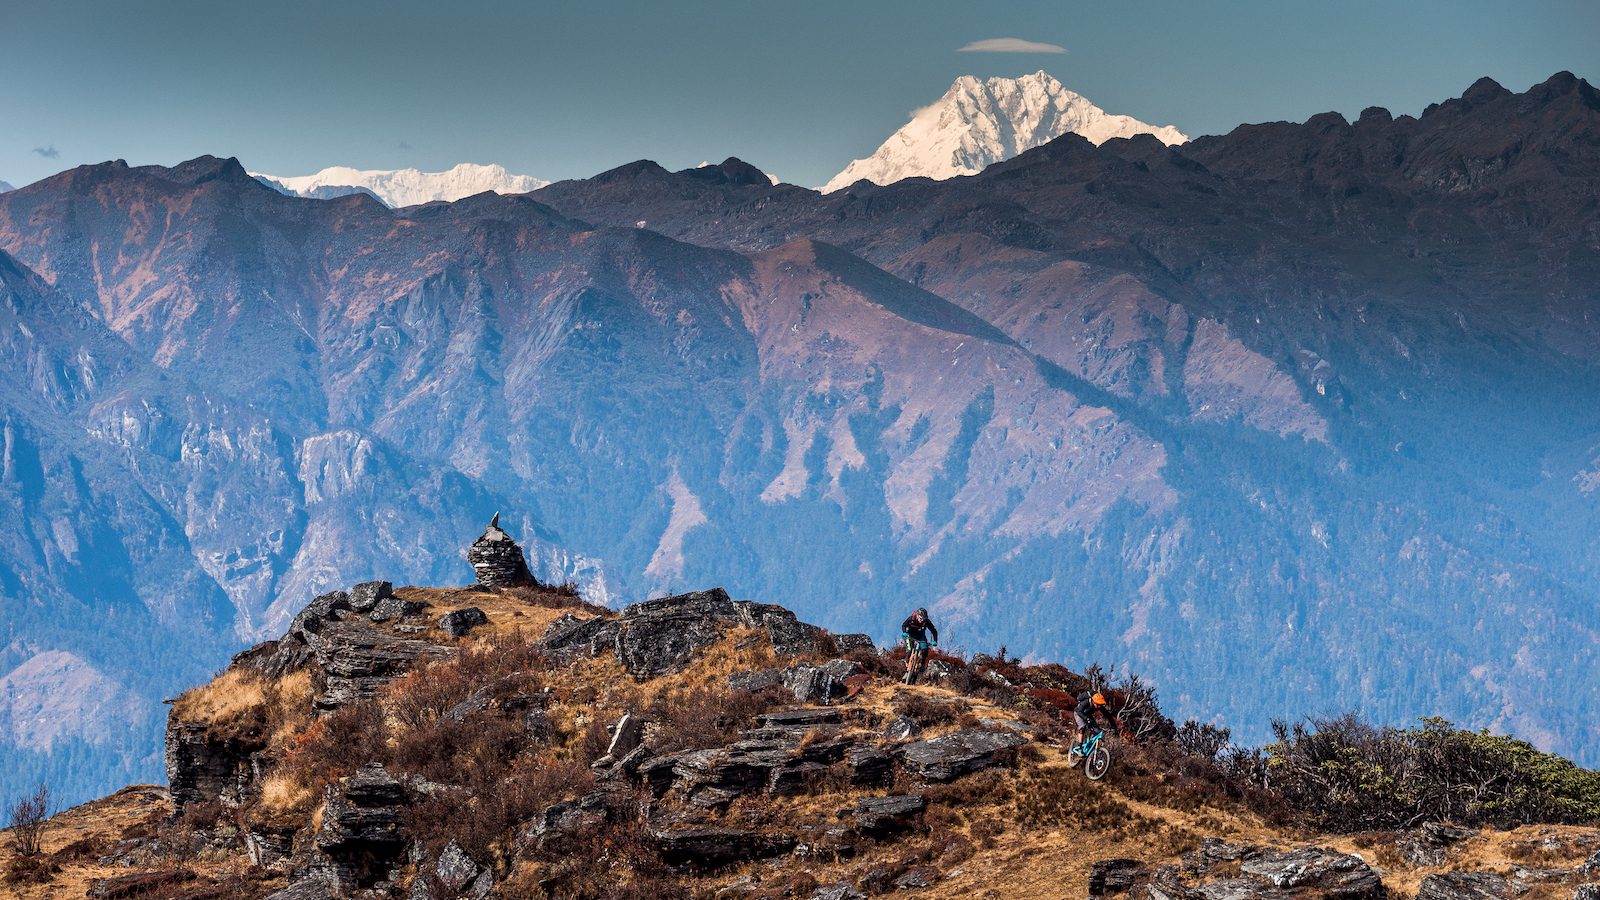
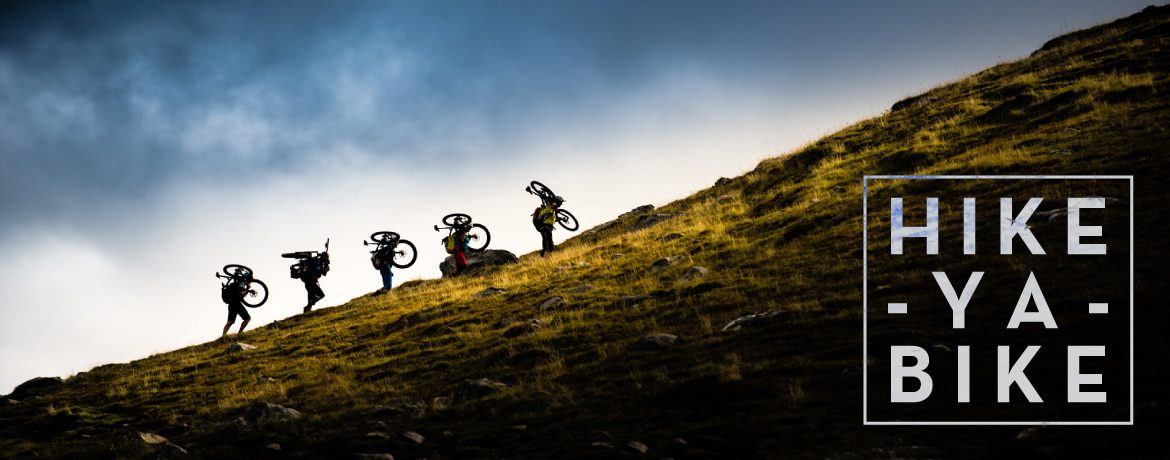
The art of hike-a-bike
Guide Chris Gibbs explains the best technique to adopt for mastering the hike-a-bike
Mastering hike-a-bike: the best way to carry your bike on tough trails
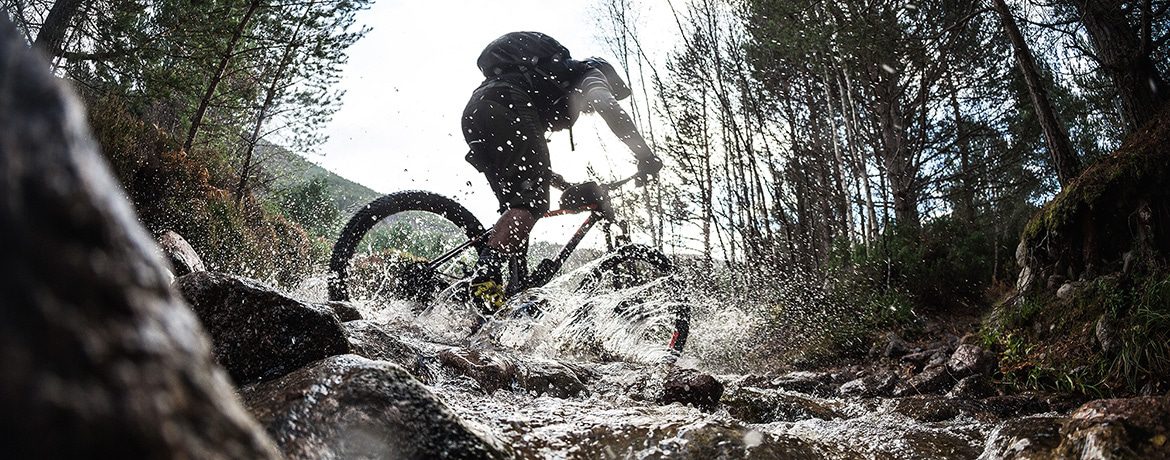
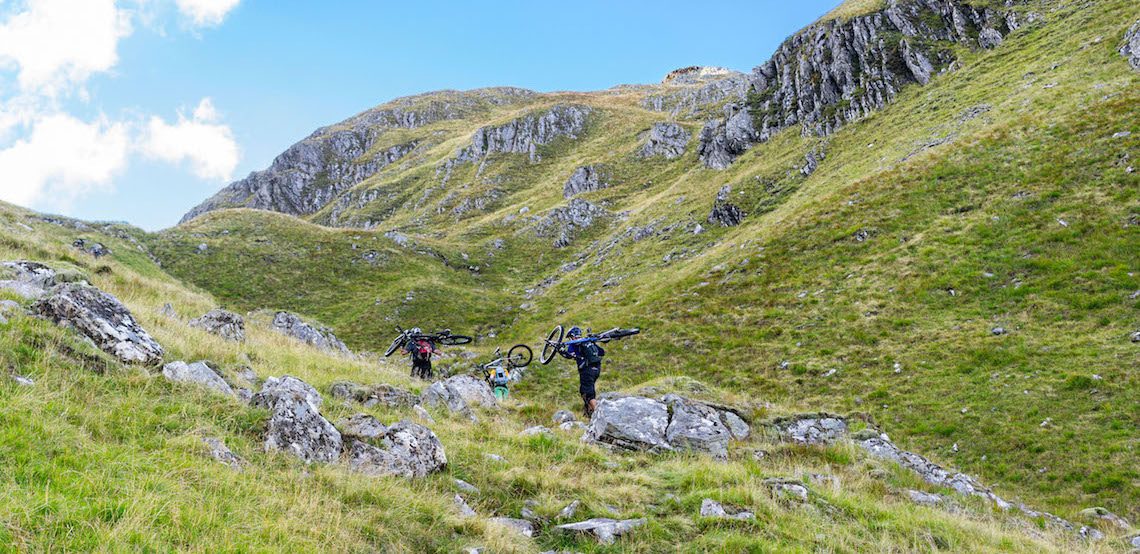
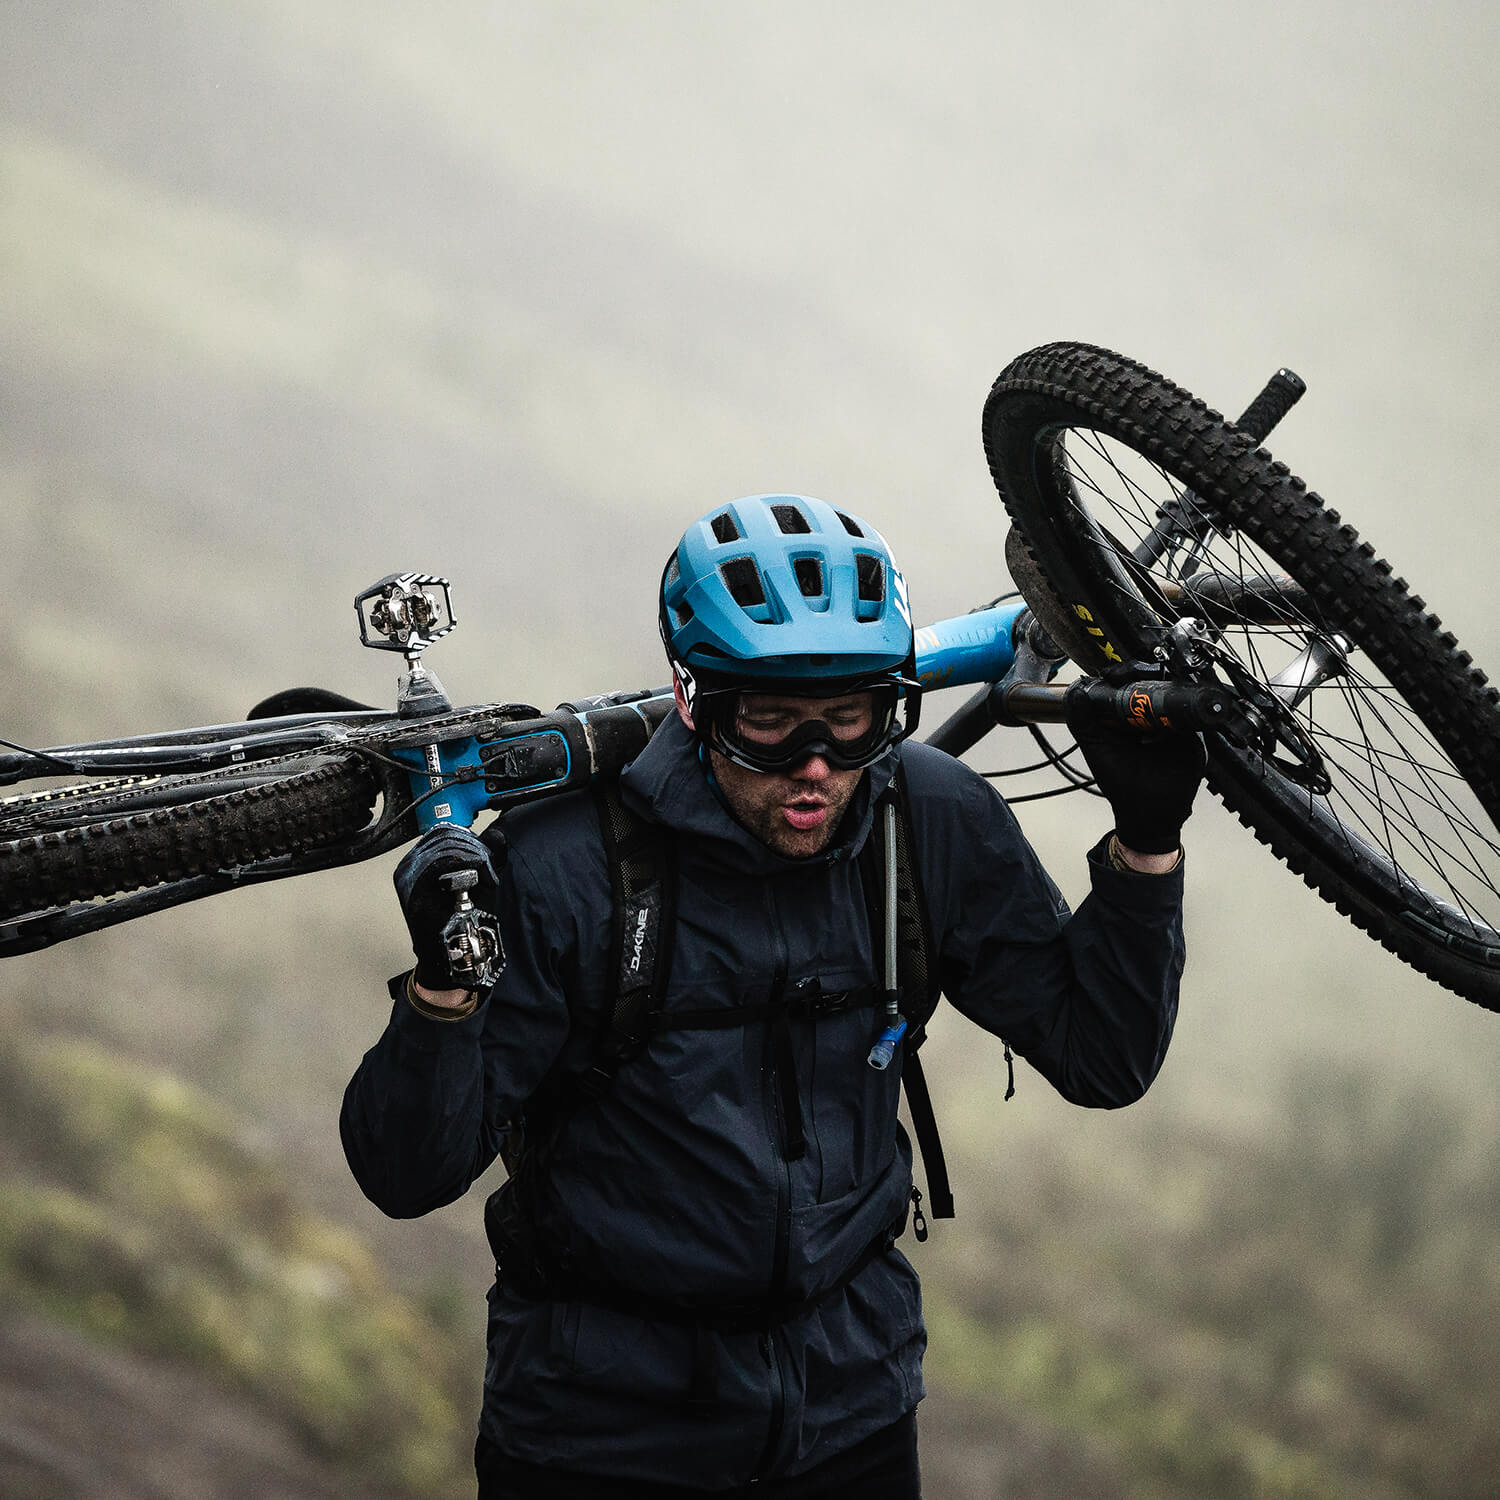
It’s late in the afternoon, a mixture of rain and sweat runs from my helmet down behind my riding glasses, there’s steep-sided rock to my left and right, but not far ahead I can glimpse the top of the mountain saddle I’m headed for, and with every step, (that’s right, I said step not pedal stroke!) I get that little bit closer to my goal; the top!
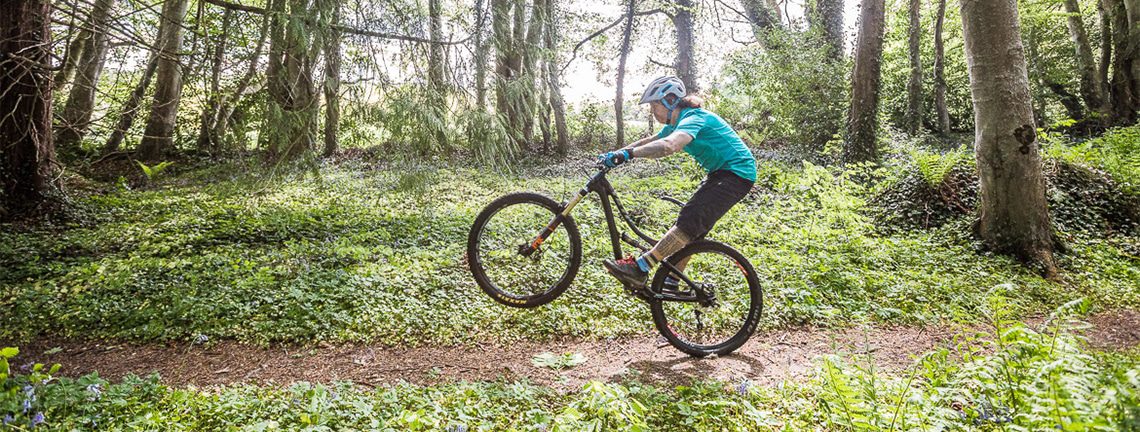
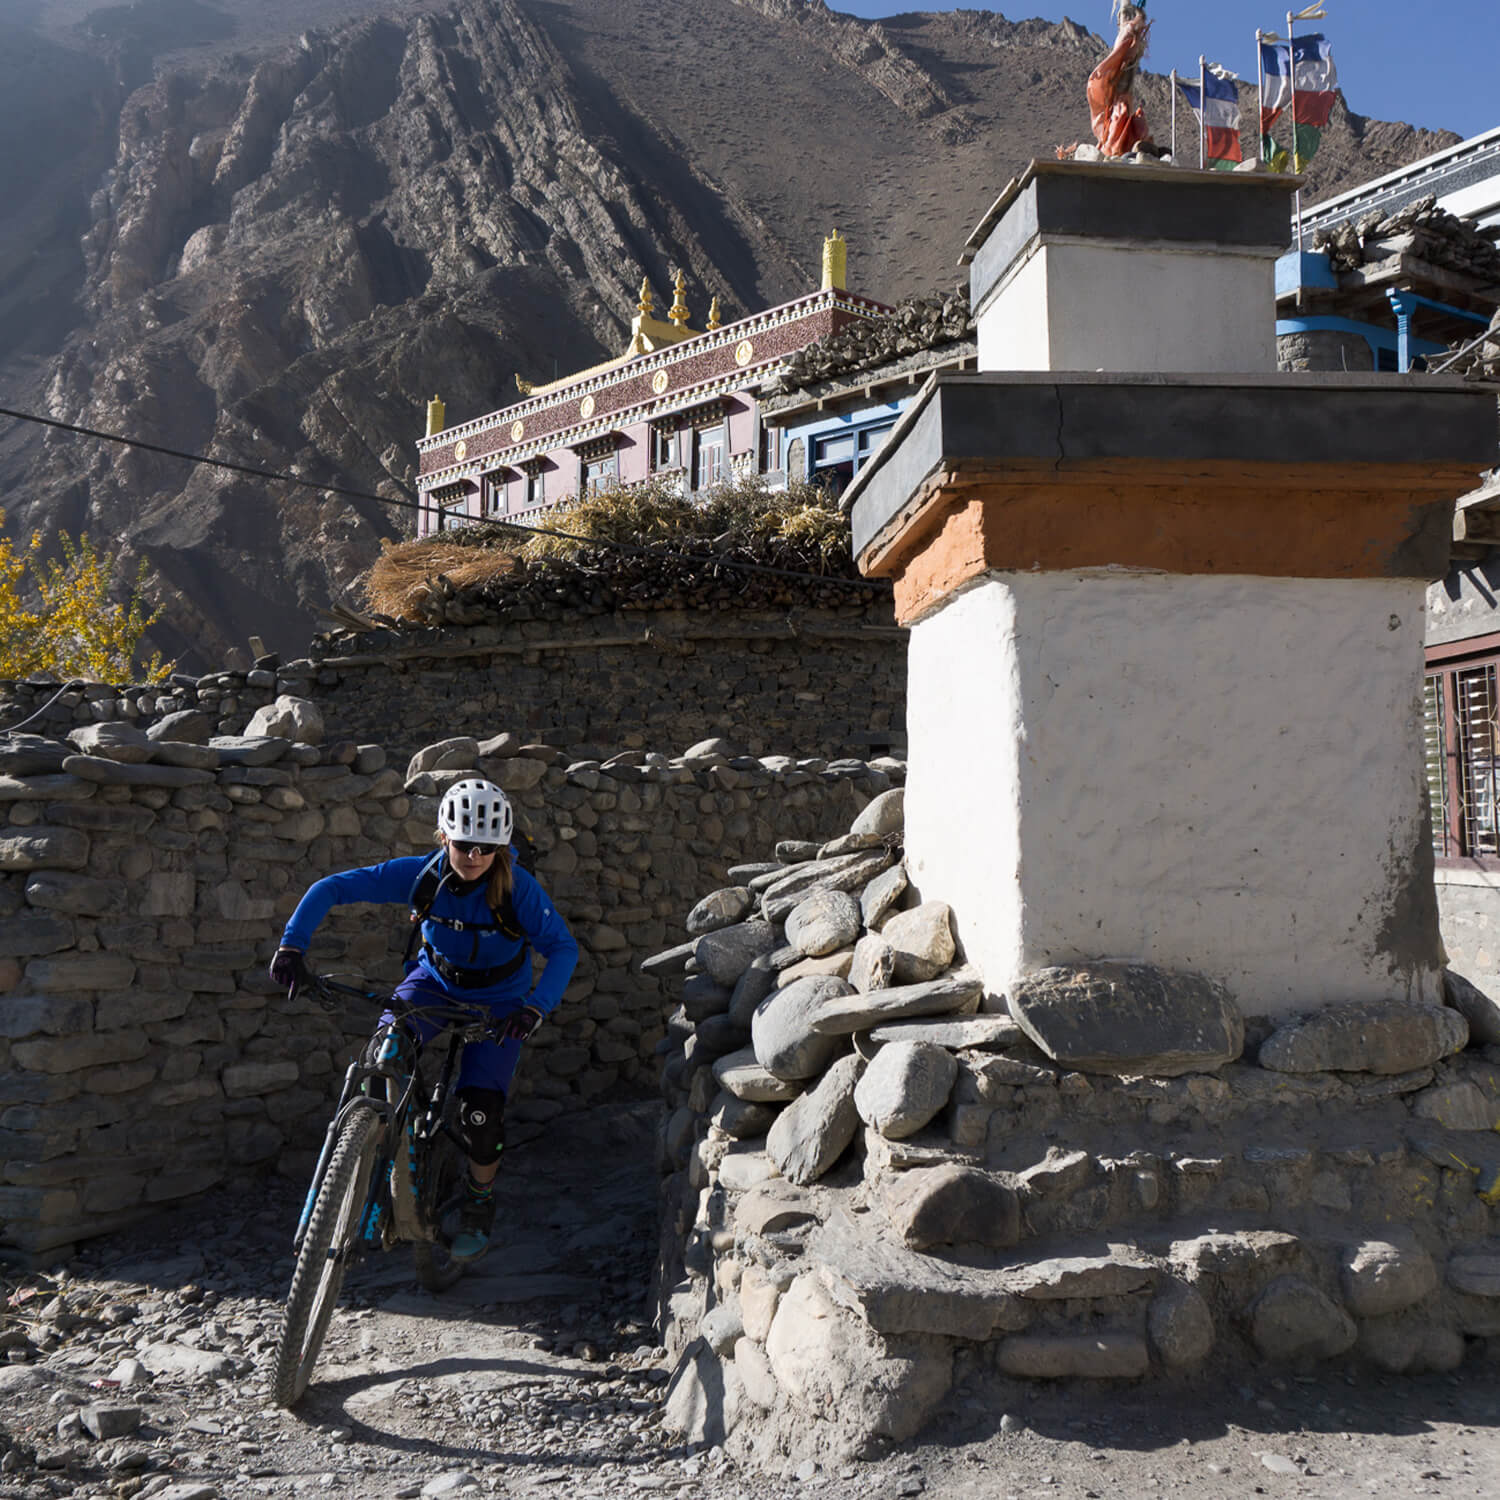
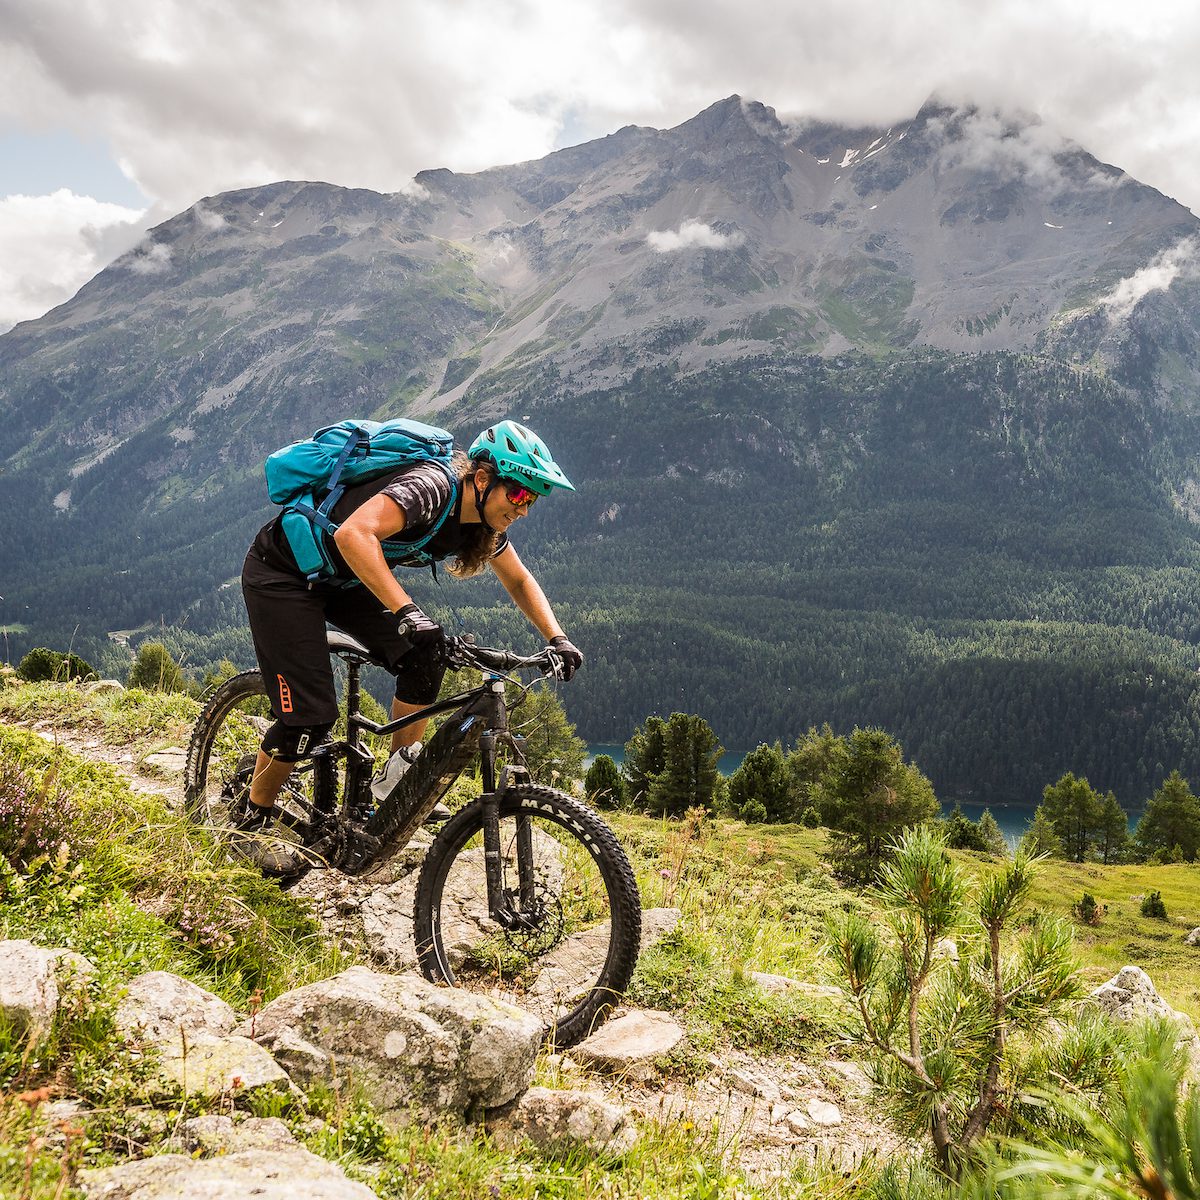
In this week’s skills blog we are looking at how to “hike-a-bike”, when the terrain gets too steep or technical, you have to resort to hiking with the bike on your back. This is not as terrible as it sounds, and can even be very liberating. It also allows you to access some of the best wilderness trails available. Think about it: why would someone carry their bike to the top of a pass or mountain if the descent off the other side was terrible? There is gold to be found out there!
There’s something about a hike-a-bike that adds so much adventure to a ride, the feeling of the bike on your shoulders puts you in the shoes of mountain pioneers, struggling to the top of an uncharted peak or hidden hanging valley with the potential for mountain biking gold on the other side.
I’ve seen people breeze up mountain sides with their bikes, I’ve also seen riders look like they are struggling up the final pitch of Everest dragging their two-wheeled companions with them, so here are some tips to make sure you are the former rather than the latter…
7 easy steps for mastering hike-a-bike
- If you have more than one chainring put your chain on the biggest ring! Safety first!
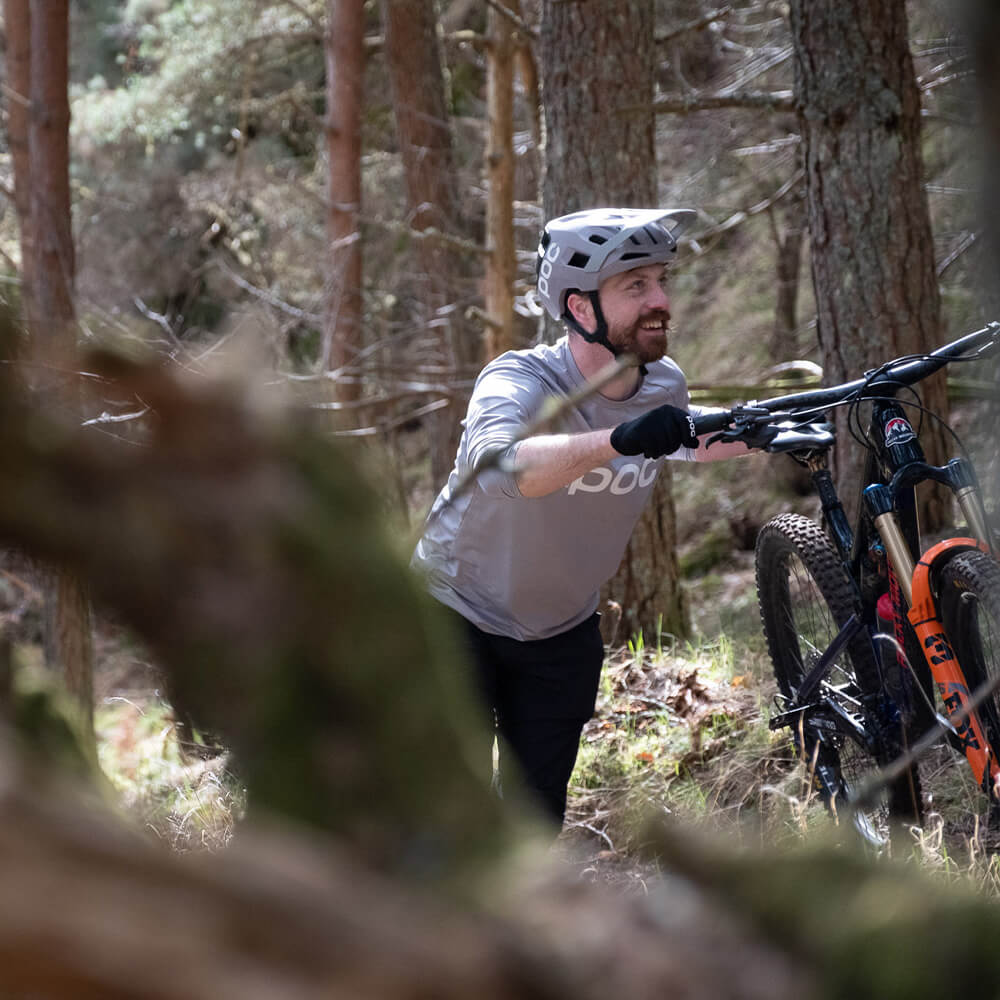
- Stand next to the bike with the drivetrain facing away from you
- Position the cranks so the crank arm facing you points to 6 o’clock, the ground
- Get into a ‘squat’ position and place your right hand on the crank arm, close to the bottom bracket and your left hand on the fork lower closest to you
- Stand up using the power of your legs and rest the downtube across your shoulders or even the top of your rucksack, if you can. (EVOC backpacks make this much easier, as they sit slightly higher and take the weight, rather than your shoulders.)
- Get comfortable by centring the weight of the bike, this normally means bringing the bottom bracket towards your neck
- Set off up the trail making sure to place your feet well before applying all of your weight, remember you are now slightly top heavy with the bike on your back, you’ll feel like a natural mountain goat anytime soon!
Please note: When taking the bike off your shoulders be sure to lift it high enough not to catch the back of your helmet or your head.
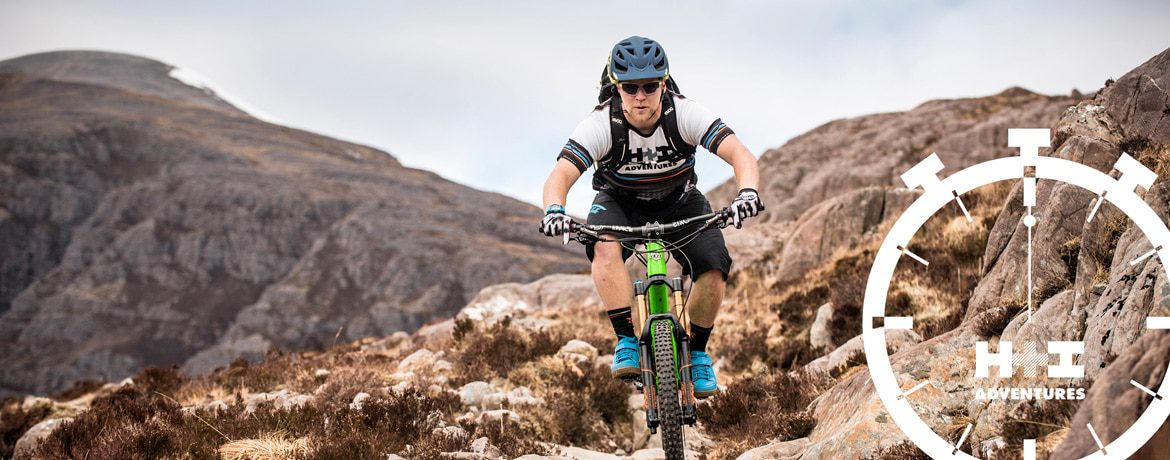
A hike-a-bike normally ends at the top of a climb so once there, and with your bike safely back down on the ground, start having something to eat to replenish the energy you’ve just used, put on an extra layer and pump up your brakes (they may be a little soft after being on your back), ready for your reward!
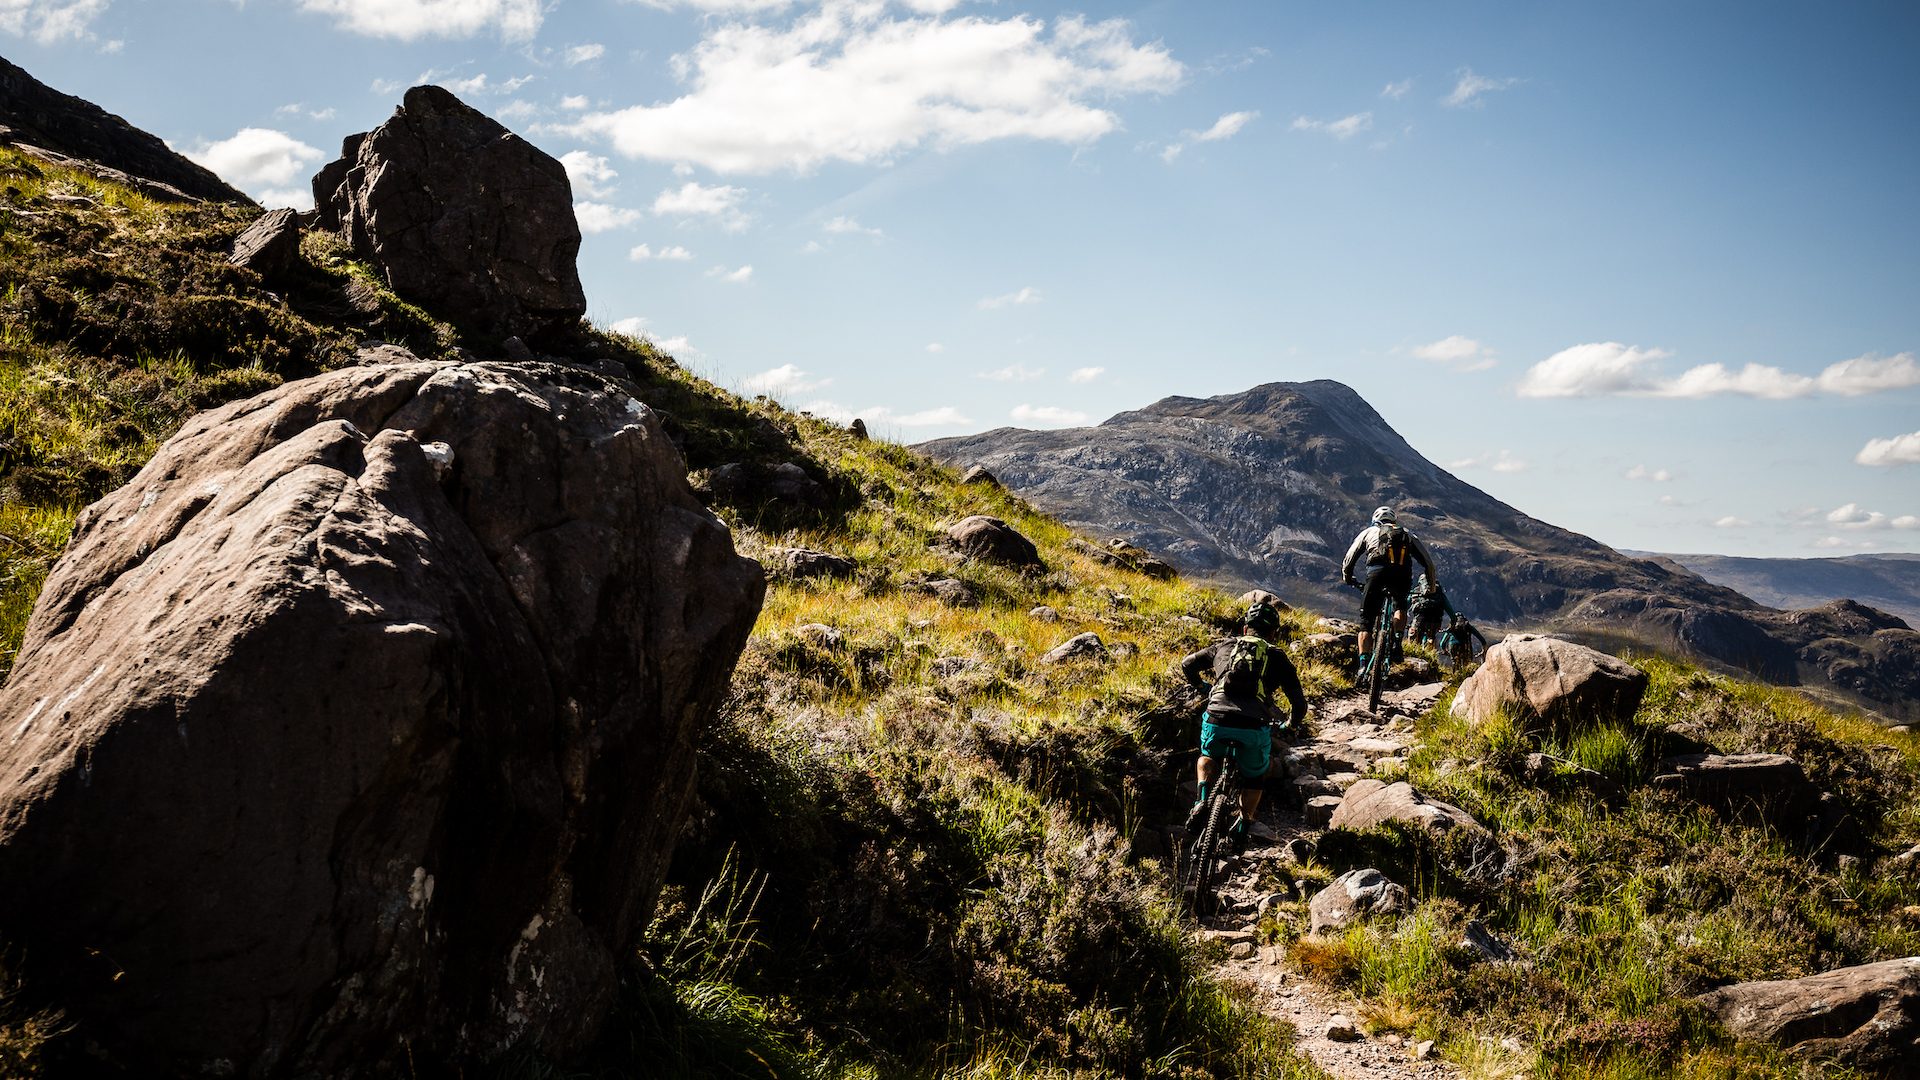
A good hike-a-bike technique makes for an amazing adventure, gets you into places that you never imagined possible, like in the fjords of Norway, and means you’ll have plenty of energy left to enjoy the hard-earned descents that lie await on the other side!