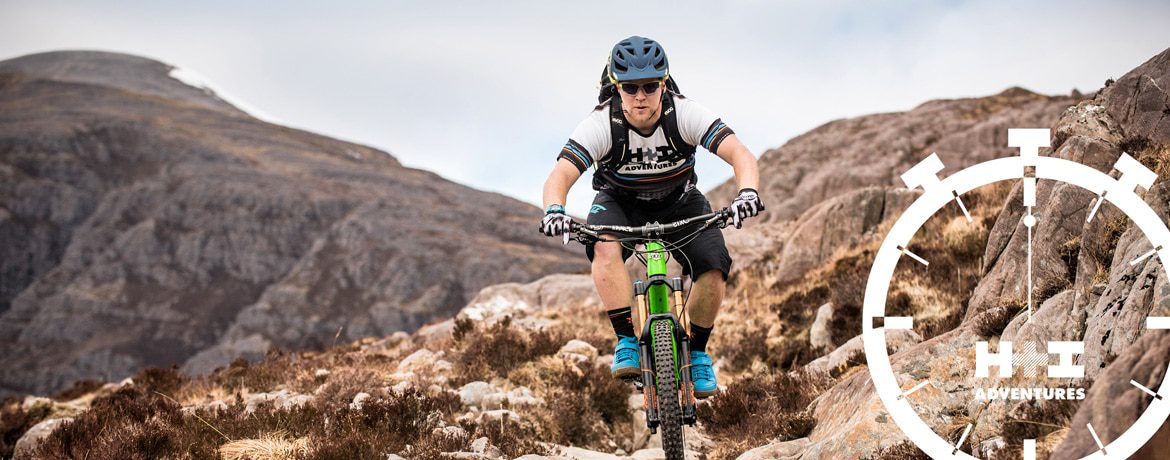
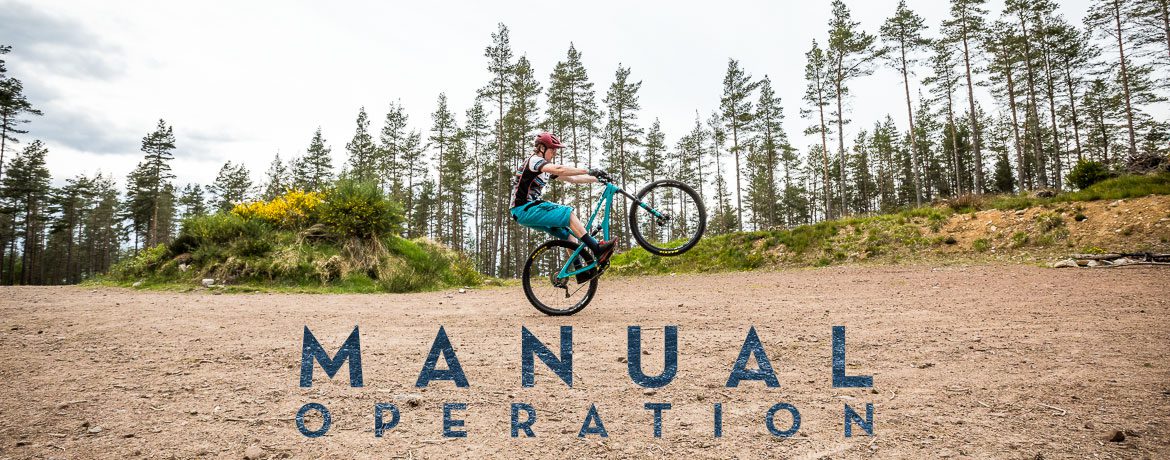
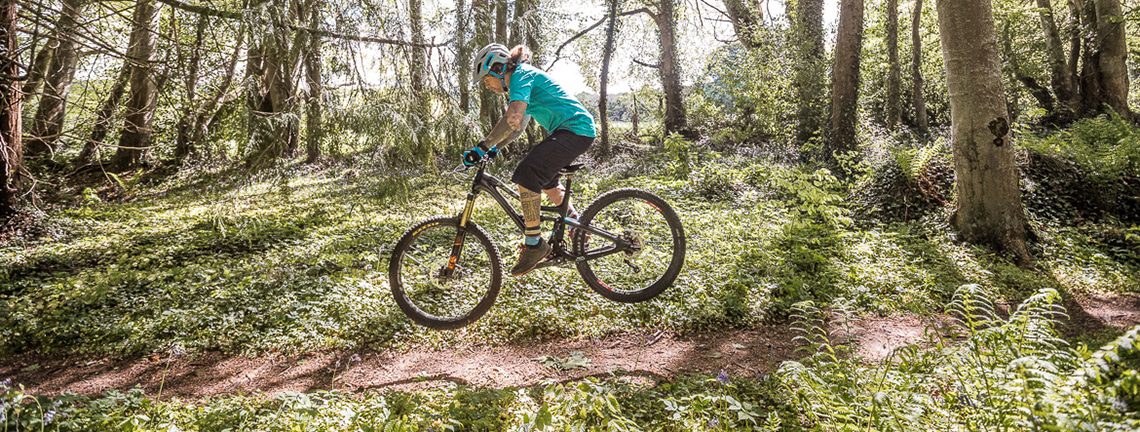
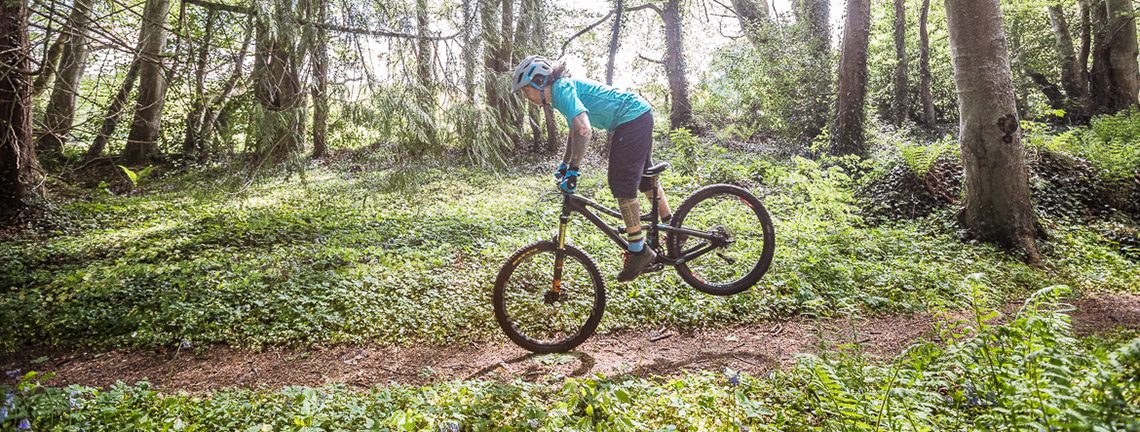
Key mountain bike skill 1: how to lift front wheel
This key skill is essential for riding over trail obstacles, such as roots or rocks, and drainage ditches on trails in Scotland, which you will experience on our all-mountain coast-to-coast.
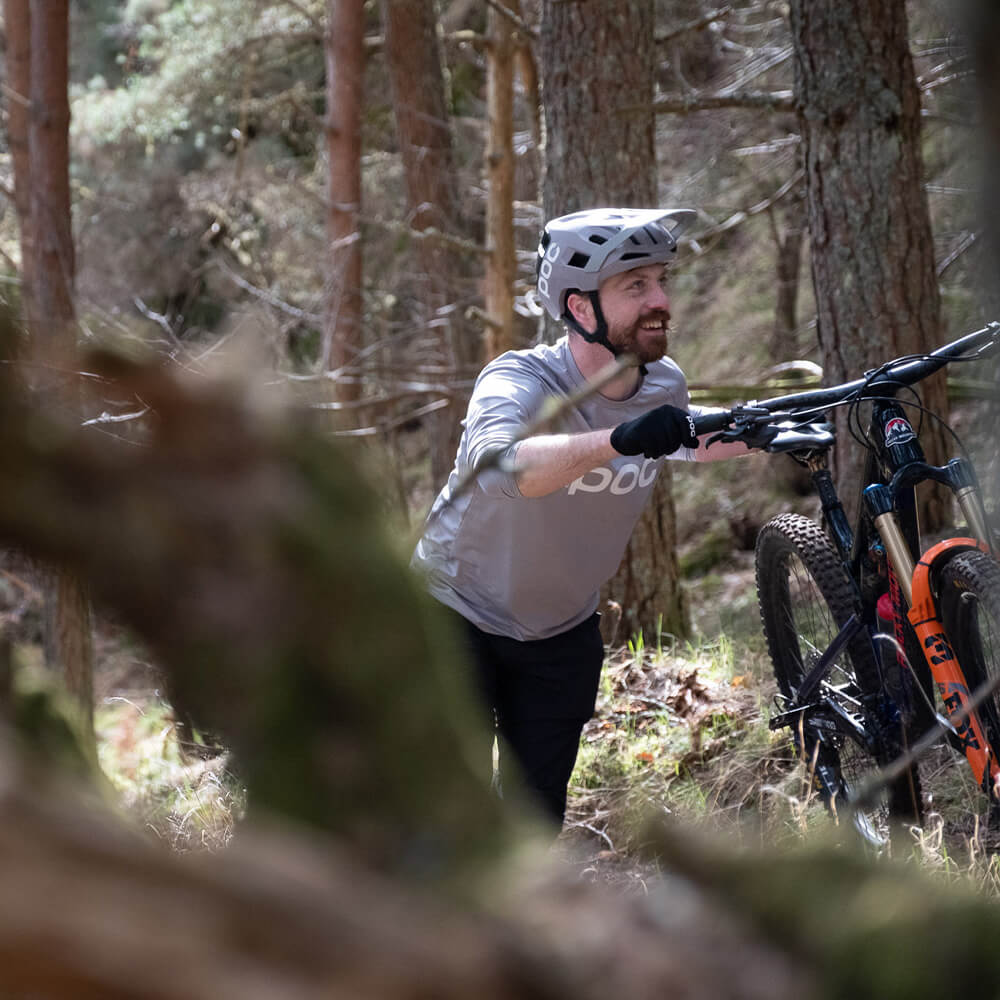
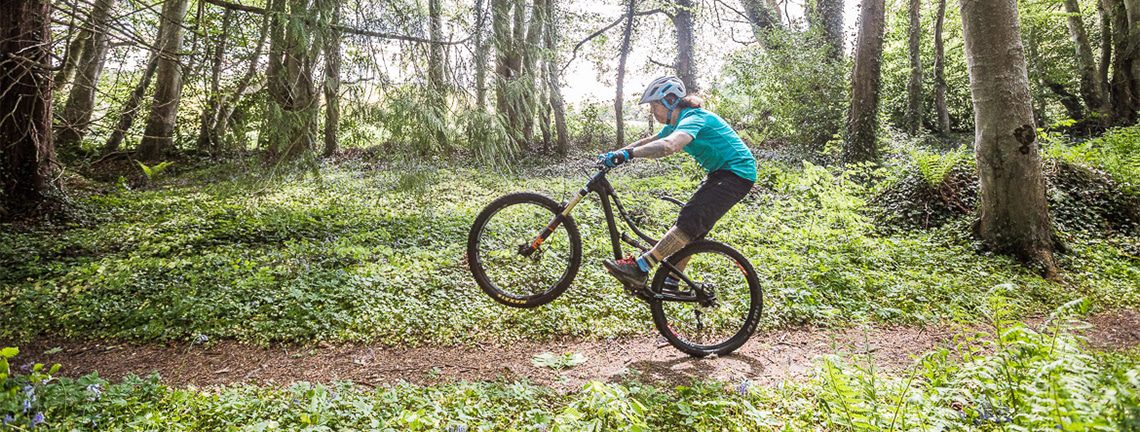
Using the images above and below we’ll talk you through how to master this key mountain bike skill.
- Pick a flat surface with enough distance to allow you to practise comfortably, without running into things. Always cover the back brake when practising this skill; if you feel you are going too far back, pull the back brake and your front wheel will come straight back down to earth!
- Roll along at a steady, jogging pace, and use some weight to compress the front suspension. This will help when it comes to lifting the front wheel off the ground.
- As your front suspension starts to return, move your body weight backwards and push forward with your feet. Your arms are doing no pulling or lifting, they are straightening to allow you to move your body backwards.
- Your front wheel will leave the ground as your weight goes further backwards and your front suspension extends fully. You will notice in the image that Jono’s arms are still straight and his back-side is behind the back wheel.
- Once you have cleared the obstacle and you need your front wheel to come down, start to shift your weight forward. You can see Jono’s arms bending to start this action and to begin dropping the front wheel. Alternatively, you can scrub some speed by feathering the back brake, which in turn will lower the front wheel.
- Your front wheel will continue to drop further. You will see Jono’s arms are still bending further and his body is moving further forward, in turn putting more weight over the front of the bike bringing the front wheel down.
- Your front wheel will land and you will be in the perfect, balanced riding position to tackle the next trail feature or pedal out!
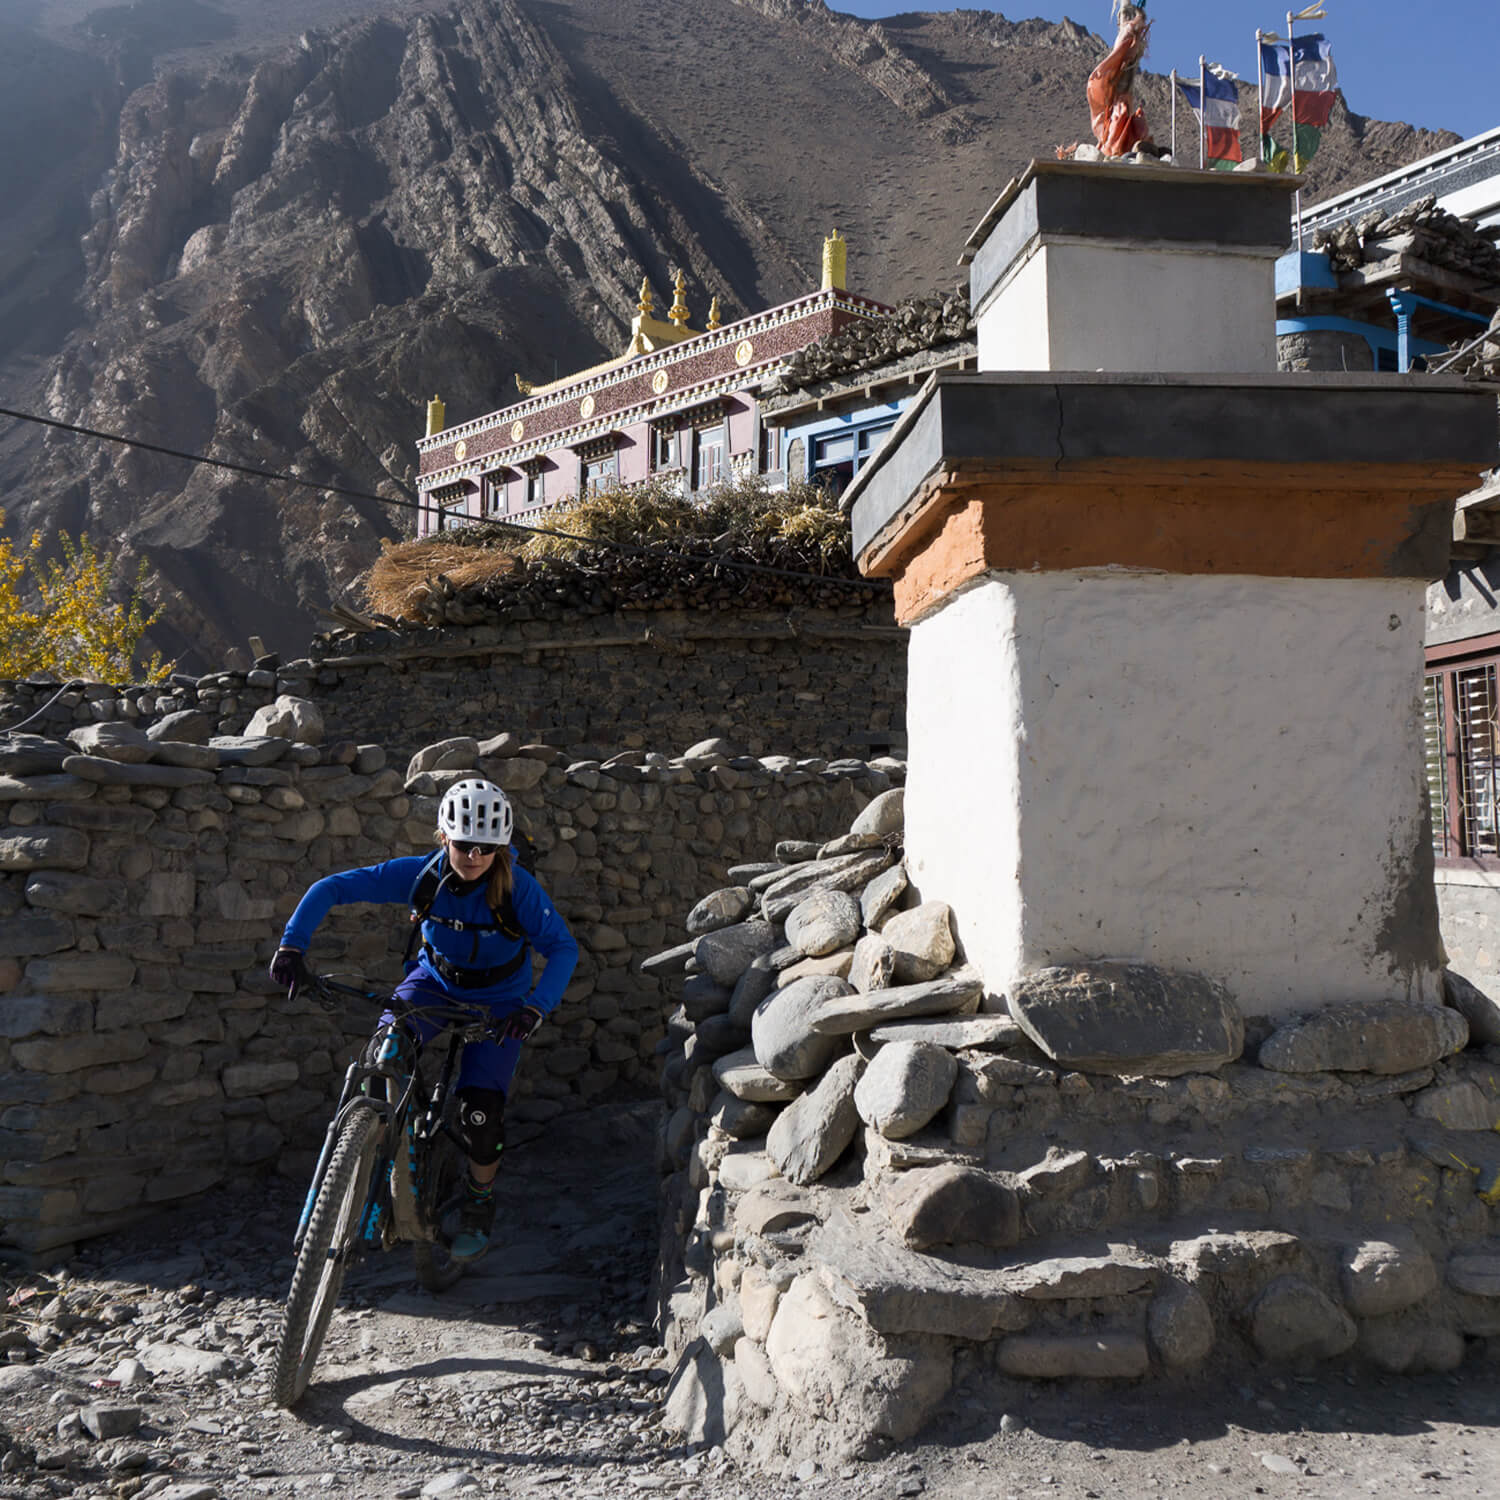
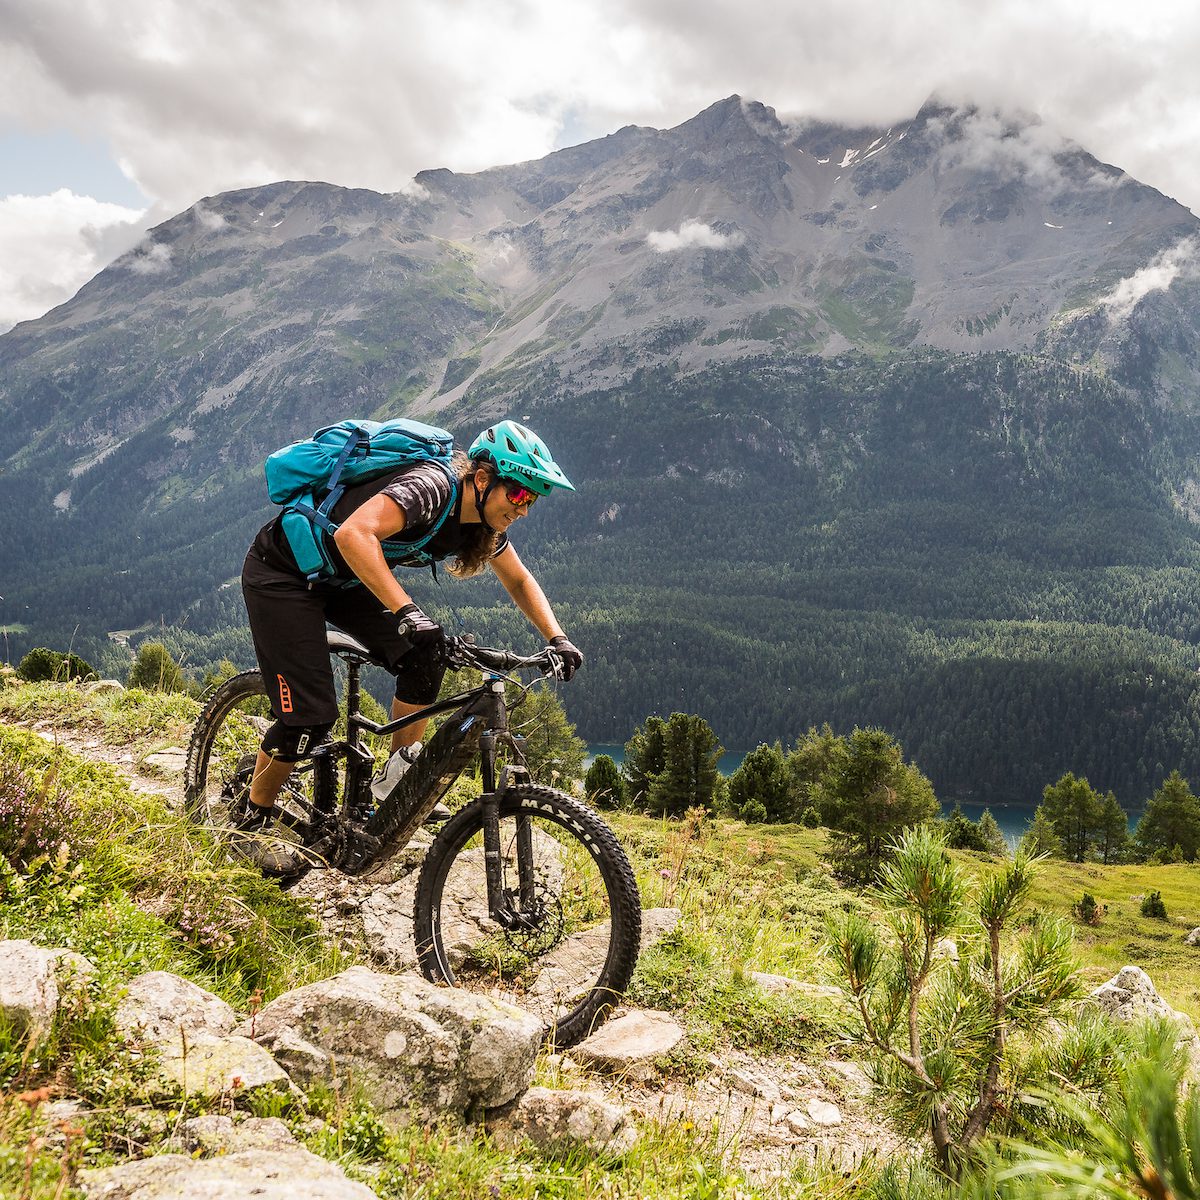
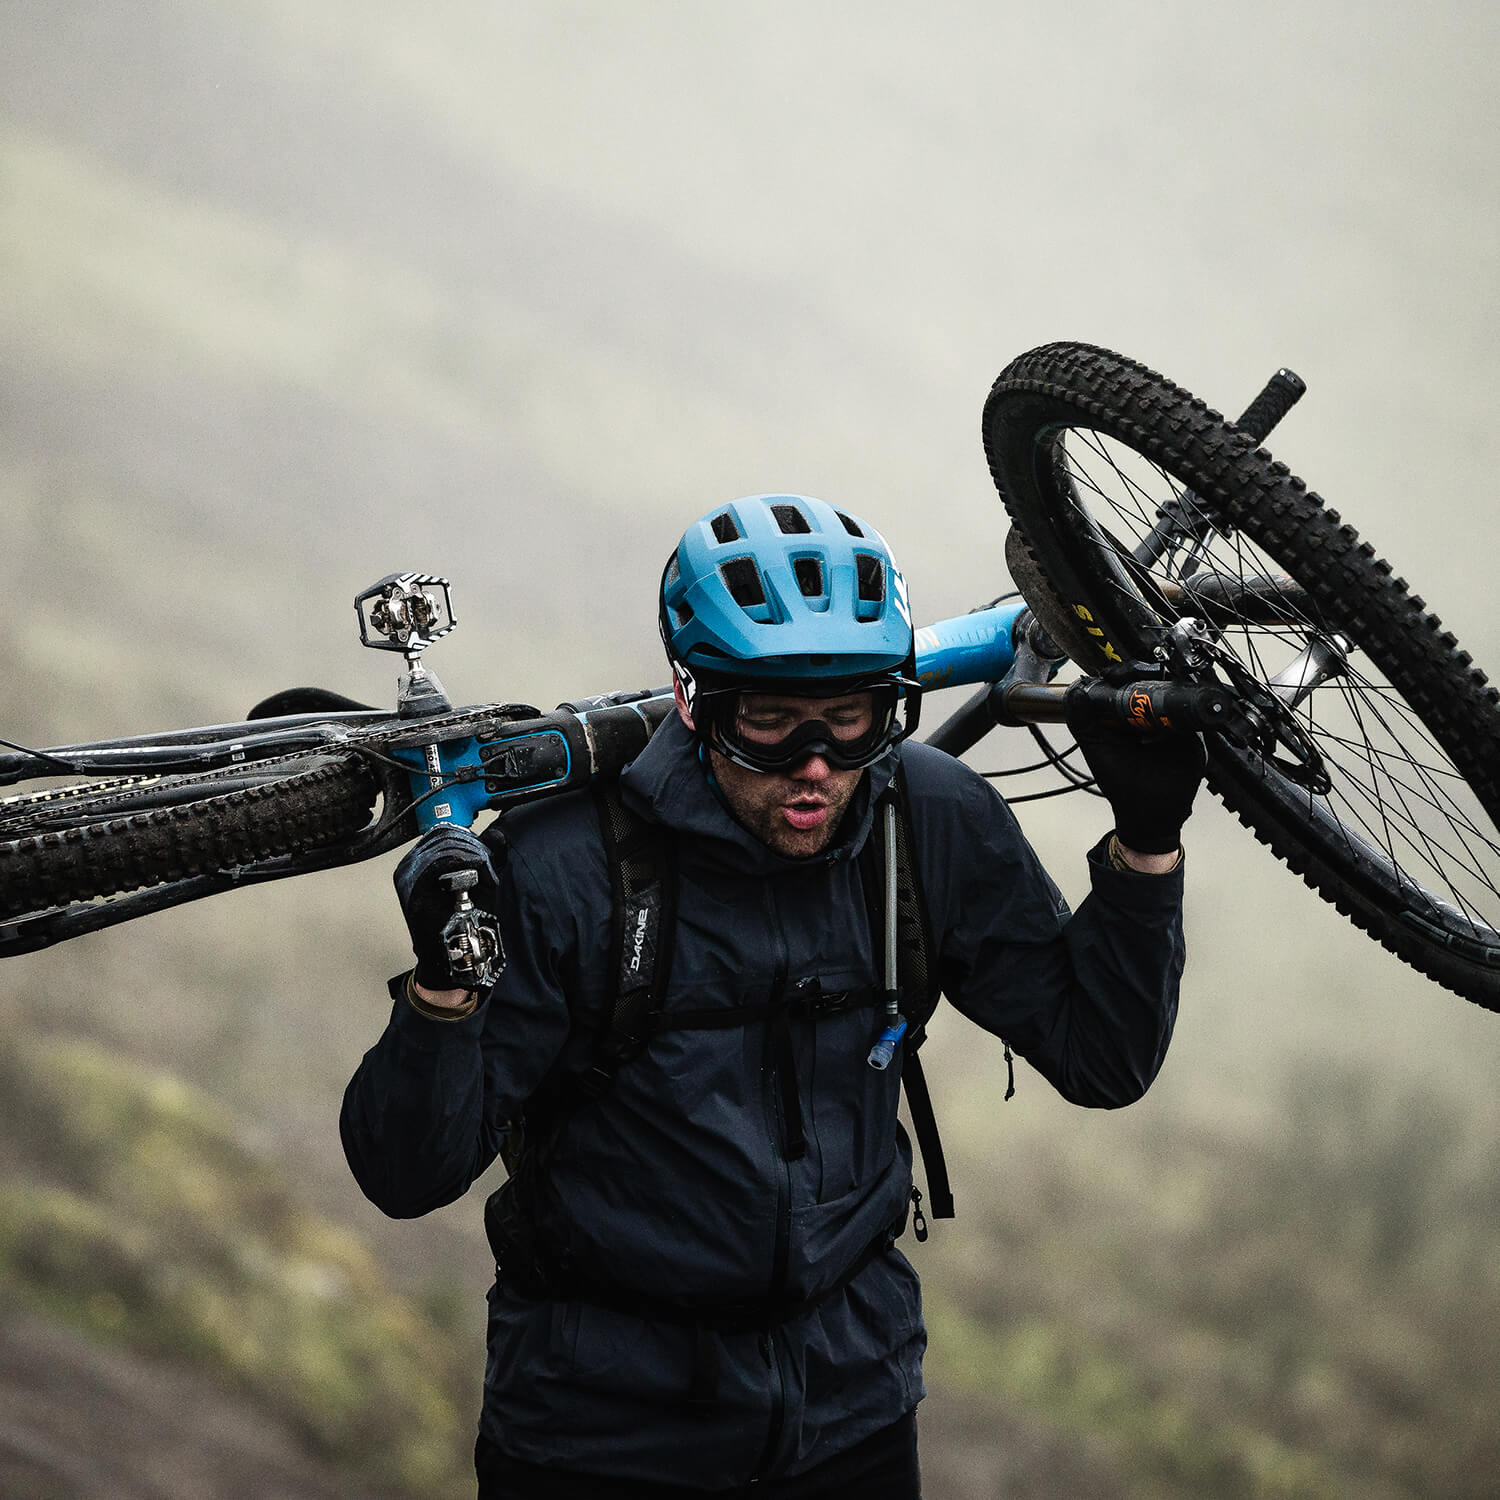
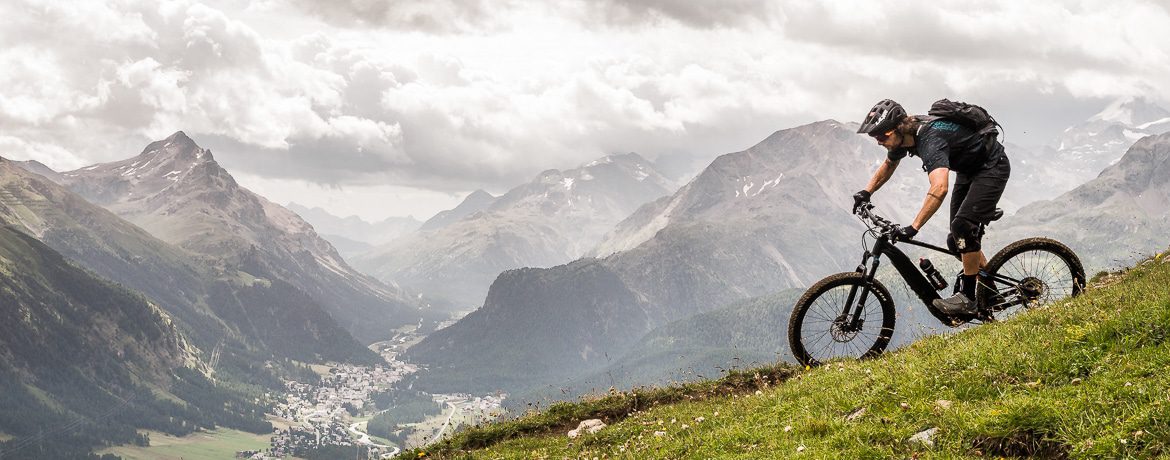
And that’s it – simple! You’ll find the front wheel lift invaluable in your riding, and it will come in handy on all of our mountain bike adventures, whether in, Namibia, Scotland, Nepal, or Spain. Practice makes perfect, so get practising and we’ll see you on the trails!